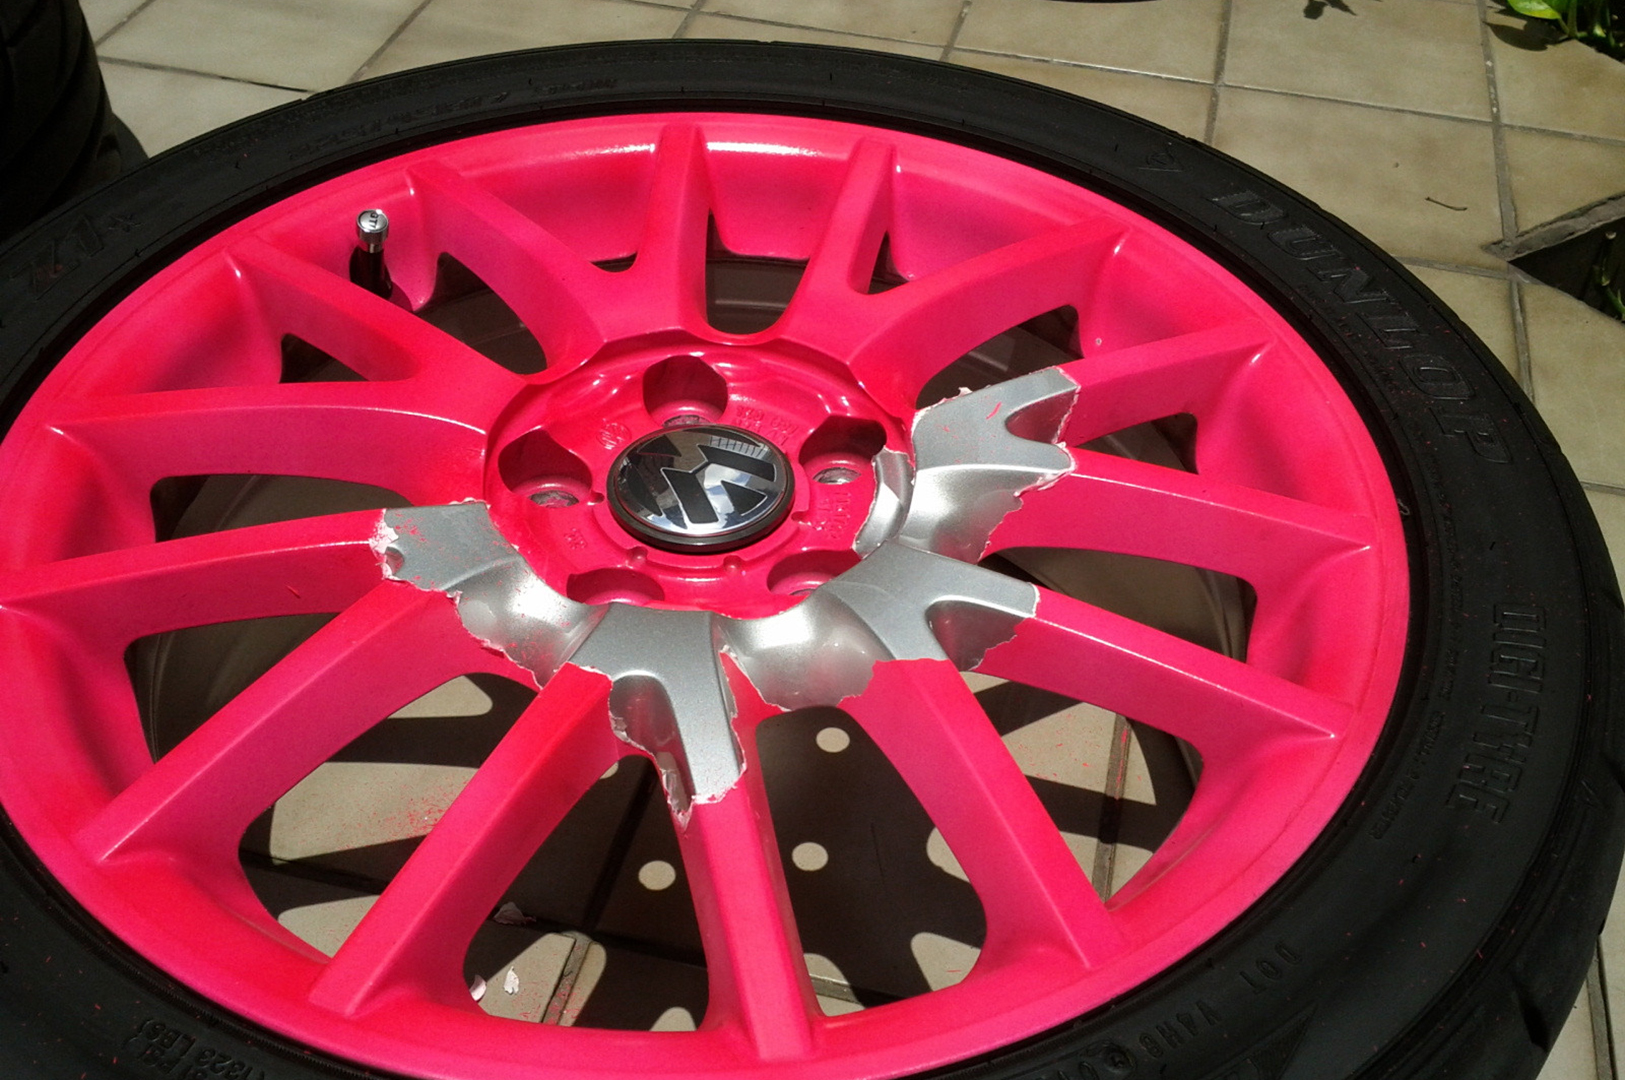
Plasti dip is a great way to beautify your vehicle with new color and style. It is a kind of air-dry rubber coating that provides the perfect coating solutions for a wide range of applications – from home improvement to automotive customization. The primary benefit is you can change it anytime in case if you are bored with the old look and looking for something new. So, how to remove plasti dip? Well, the process is easy, cheap, and does not leave any stain on the rims.
Contents
How to Remove Plasti Dip from Rims?
All the motor enthusiasts love plasti dipping their car a couple of times in its lifetime. It gives you a custom, new paint job for a fraction of the cost of other options. It even stays much longer than vinyl wrapping and creates a highly durable bonding with the surface it has been applied to. If you can apply it correctly, it lasts for at least three years.
But, what about the removal? How to get rid of it when you do a bad dipping job or simply want to do a new painting job?
How to Remove Plasti Dip: Materials
Removing plasti dip is not anything difficult. The process is simple. You just have to have a bit patience to get the job done.

You will need these following tools and items to clean it off:
- A dissolver such as WD40 or Goo Gone
- A microfiber cloth
- A plastic razor
- Paper towel
- Gloves
Goo Gone will help with a thin application of plasti dip removal. If it’s a thick layer, use WD40 or DipYourCar Dip Dissolver. Remember that it will take more time to erase a thick coating than a thin film. Besides, if you use anything other than Goo Gone, you will have to wait longer to let it sit on the surface.
Before going through the plasti dip removal steps, here are the answers for frequently asked questions about Plasti Dip that you should know:
>> Read our previous post: The Best RV Wax For Fiberglass 2018
How to Remove Plasti Dip: Instructions
Follow these guidelines step-by-step to know how to remove plasti dip from rims:
Step 1: Detach the tires
Many people will like to avoid this step but it will ease your job. Working on the rims is much easier when the tire is lying down on a surface rather than attached to the wheel. When the tires are vertical, it will be difficult to spray the dissolving liquid on every nook and cranny.

So, remove the lug nuts and lay the tires flat on the ground.
Step 2: Spray the dissolver
Put your gloves on and spray the Goo Gone or WD40 all across the rims. Spread generously so that the dissolver creates a thick layer on the rim surface. Wait a few minutes to let it set.
Pour some dissolver on the paper towel and rub it into the dip so that it covers the entire body. If you can do it correctly, the next step will be much easier. Let the liquid to dry for about eight minutes. Increase the timing if you use WD40.
Step 3: Scrape with the razor
It’s the most complicated part of this how to remove plasti dip guideline. However, if you have done the previous step correctly, it won’t be much difficult to scrape off the existing paint. The reason to use a plastic razor is that it won’t cut through anything else except for the paint.
As the dissolver has already softened the plasti dip, scrape it off by applying moderate pressure. Using unnecessary force will only damage the rim. However, razor won’t be enough to peel off all the plasti dip. There are some harder to reach areas where you have to use a microfiber cloth.
Pour some lukewarm water into the towel and rub the crevasses that the razor has missed. It will clean the remaining plasti dip residue.
Step 4: Clean everything
After finishing the razor-work, there will still be some powder-like residue on the rim. These are the remnants of the scraped off plasti dip. How to clear the dirt and make the rim look new again? Just wash it down with some soapy water and then wipe with some clean microfiber towels.

Finally, attach the tire again to your car and you are done with removing plasti dip from the rims! Repeat all the steps for each of the tires to complete the job.
Cautions
- Always use gloves while applying the dissolver because these components can be abrasive. Also, you should use the dissolver only to clean the rims because the abrasive chemicals can ruin the paint job beneath the plasti dip in other parts of the car.
- You should give the dissolver enough time to set on the surface. Otherwise, it will not be easy to scrape the plasti dip off.
- Always use microfiber towels for the rubbing and wiping tasks.
Here is a complete guide of removing plasti dip you could follow:
>> You may also like: Coach Net vs Good Sam: RV Roadside Assistance Plans Comparison
Conclusion
Every plasti dip enthusiast uses it to color the rims and other parts of their vehicle at least once a year. It’s a nice way to give the vehicle a character and put your own personality. With many RVers, going on RV trips with colorful wheels would be interesting. If you have struggled with the removal of the substance in the past, this guide is likely to make the process a lot easier.
Last Updated on May 12, 2018


