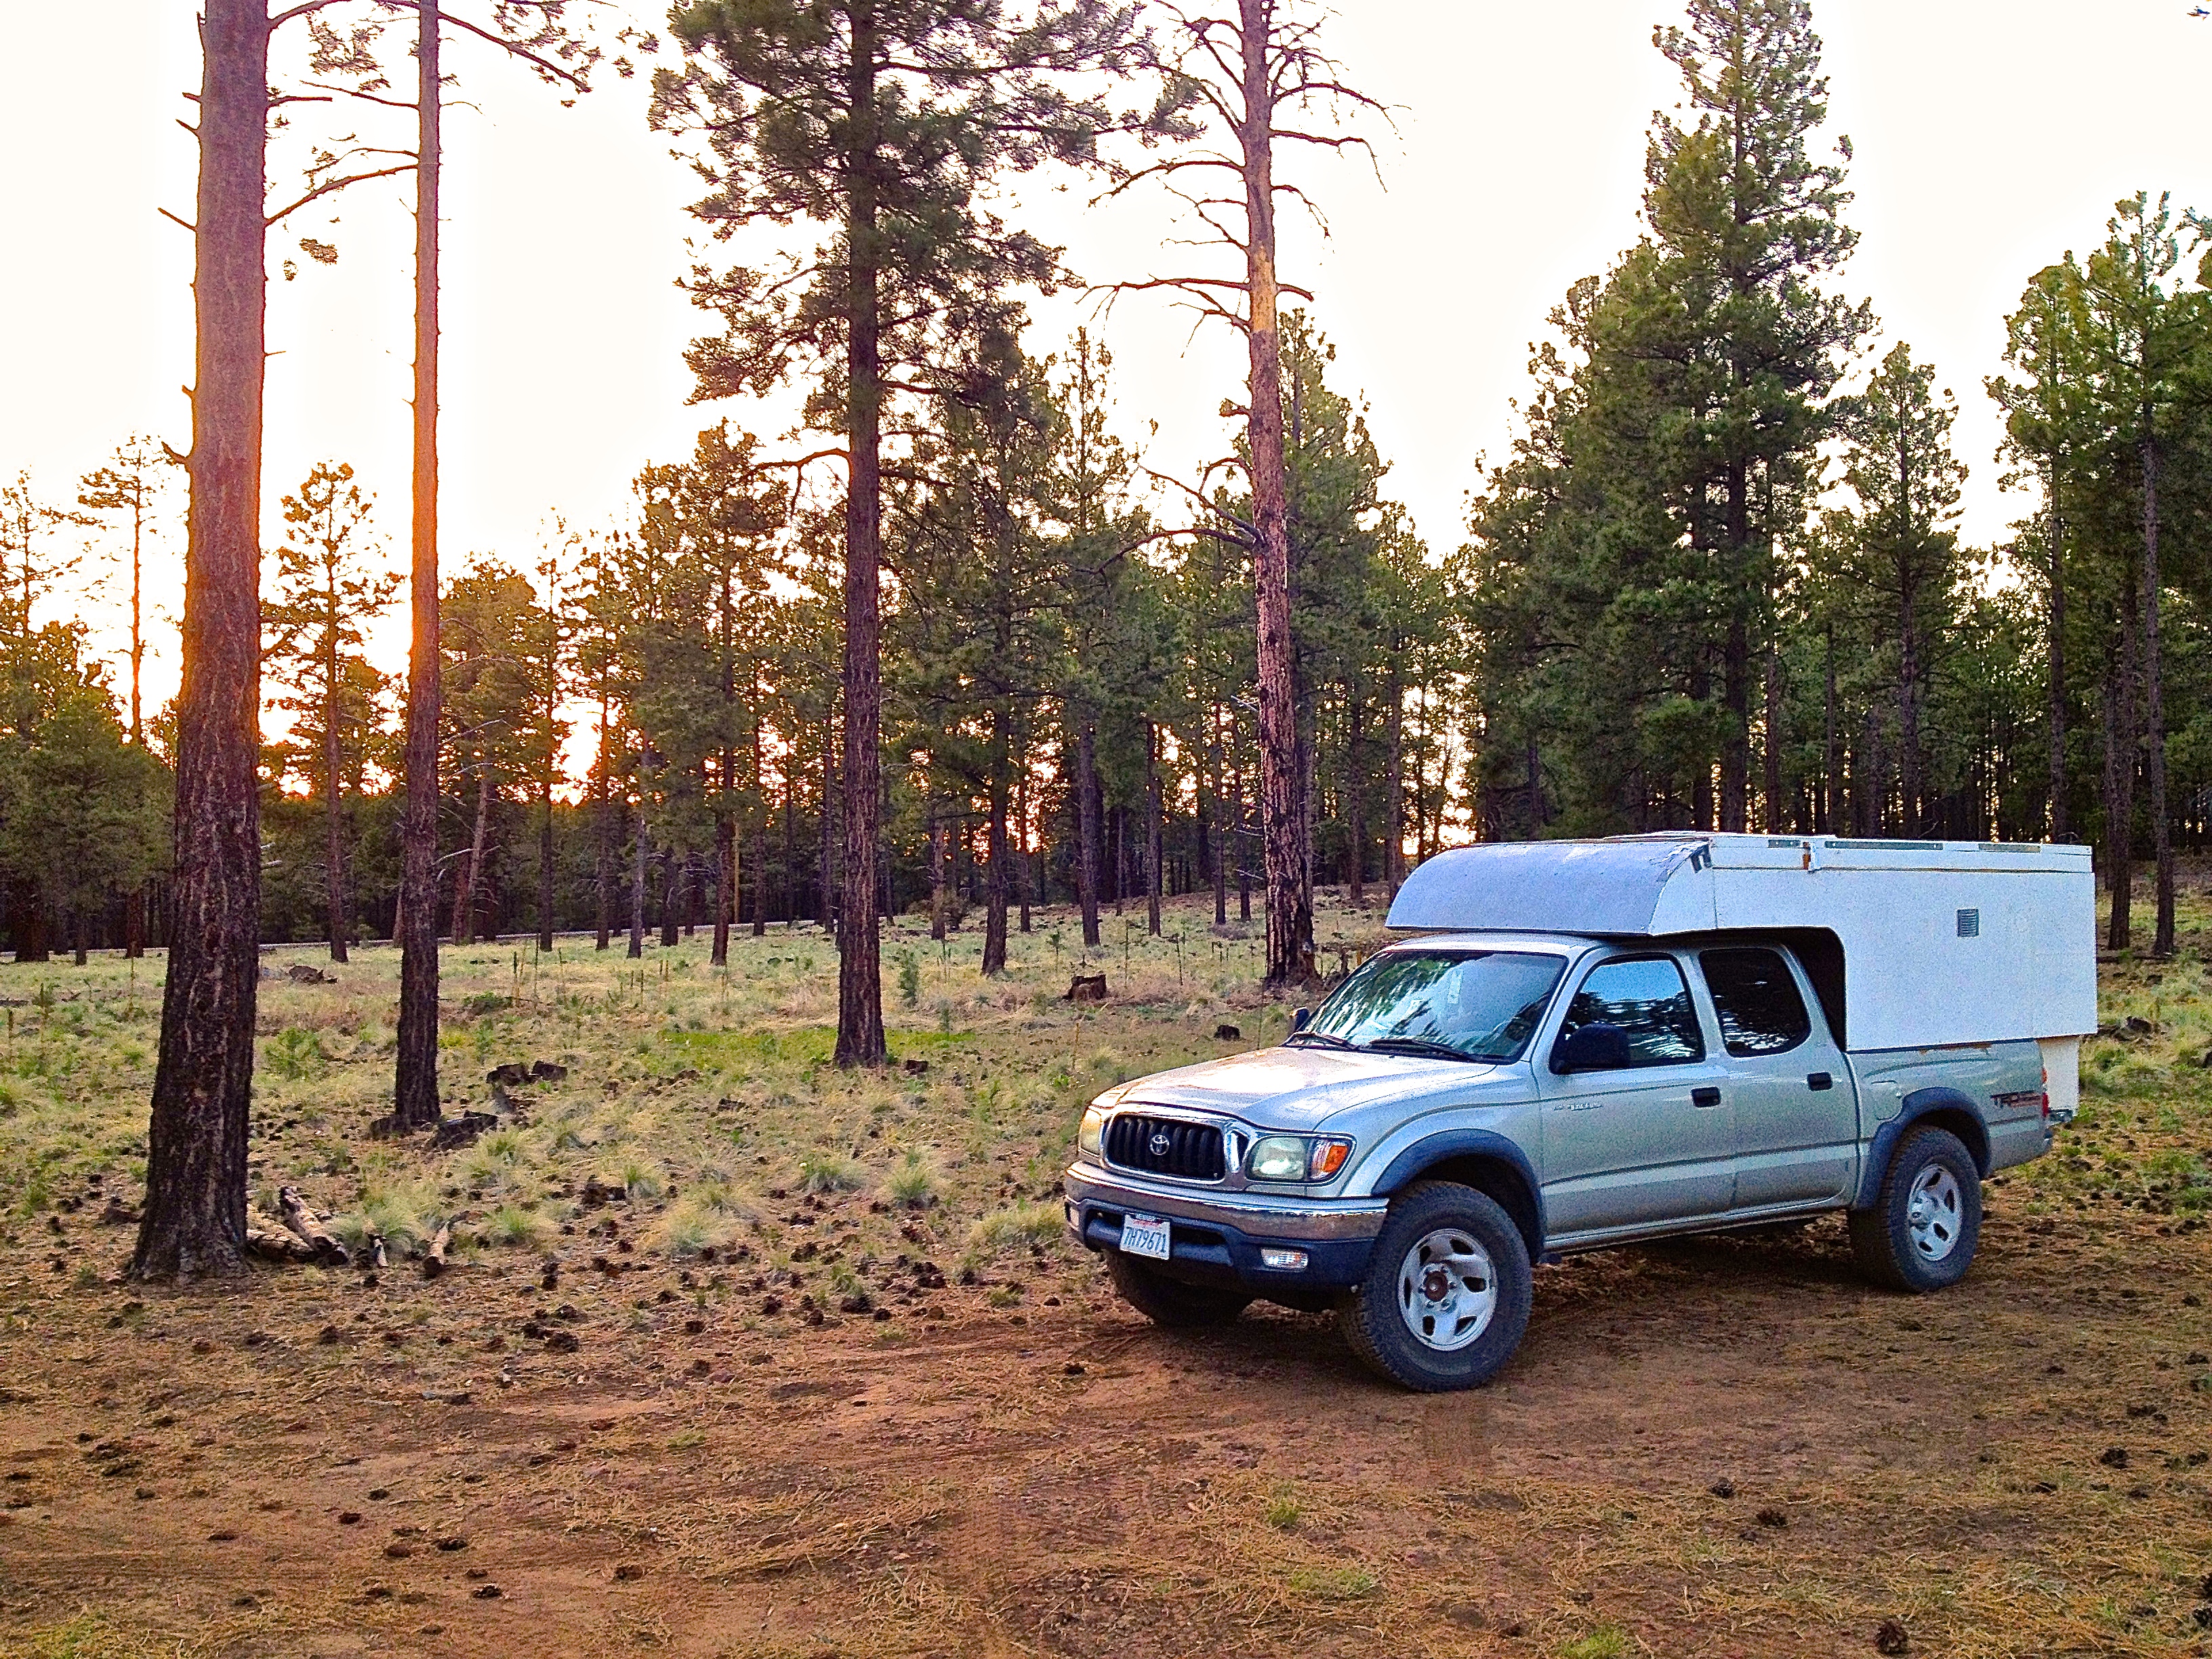
Most people love camping but not everyone has the financial solvency to purchase an RV. Plus, some people don’t want to drive around with such a huge vehicle. Whether you are having a budget problem or want something smaller than a travel trailer, you can consider a small camper on the back of your pickup truck. Learning how to build a lightweight truck camper will solve both the issues for you.
A truck camper is like a tent on wheels. A DIY truck bed camper is the best option for those travelers who don’t want to pitch a tent or drive a huge trailer.
Contents
How to Build a Lightweight Truck Camper: Follow the Instructions
A truck with a camper on the back does not come cheap. Purchasing is not an option if you are looking for saving money. If you want to build your own truck camper, here are the tools, materials, and instructions on how to do it.
The Materials for a Homemade Truck Camper
- Wood planks and beams
- hardwood plywood
- Drill machine
- Hammer
- Nails
- Metal joints
- Foam and cotton for insulation
- Metal foil roof (for waterproofing the roof)
- Wood or plywood with PVC sheathing (for waterproofing the walls)
- Lines of bubble wraps (to protect the interior from moisture)
Always wear protective face-mask, goggles, and gloves when making the DIY truck camper. Also, remember that your truck insurance company is unlikely to cover any damage done during the remodeling. So, be careful and cover it first to prevent any costly damage.
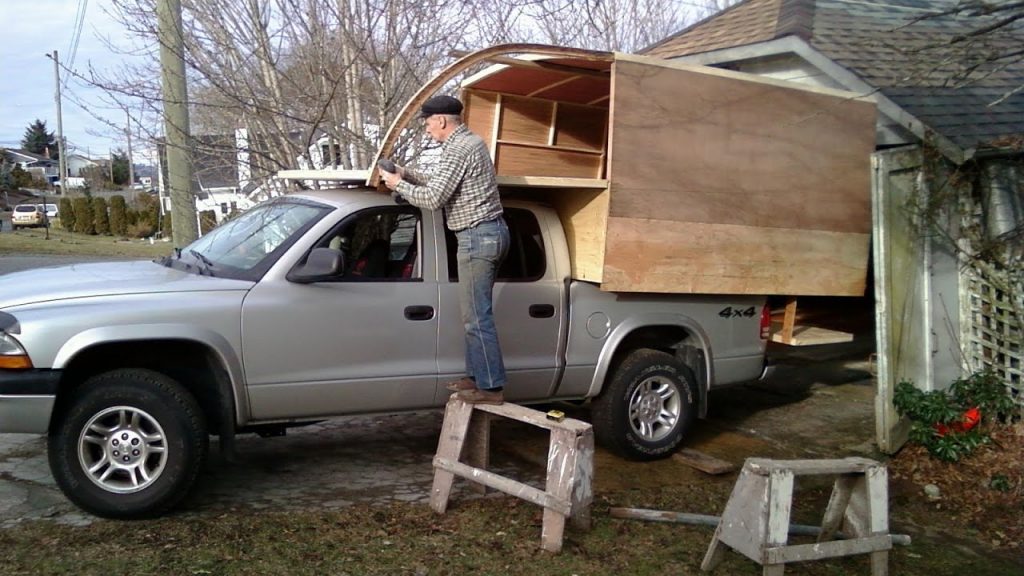
In fact, learning how to build a lightweight truck camper is not rocket science. But, doing so without incurring extra costs is quite tough.
How to Build a Truck Camper – The Steps
Follow these instructions to construct your dream camper:
Work on the Frame
Secure the metal joints with the truck sides and attach them to the wood beams. Then, lock the beams together with nuts and nails. They will form the main support for the structure.
Now, this is the time to affix the frames and the roof. You can use 2×2 pine lumber (or according to the length and width measurements of your truck’s back portion) as the sidewalls or 1/8-inch hardwood plywood for keeping everything as light as possible. Purchasing 2×4 planks and then cutting them to the 2×2 size with a table saw will save the expenses further.
You can glue and screw the planks to the beams. Also, it is necessary to chip and interconnect the planks together to form a strong bond. Use as many nails and bolts as required because the frame has to be strong and durable. Gluing and stapling will be enough if you are using hardwood plywood. Just remember to remove the staples before applying the covering.
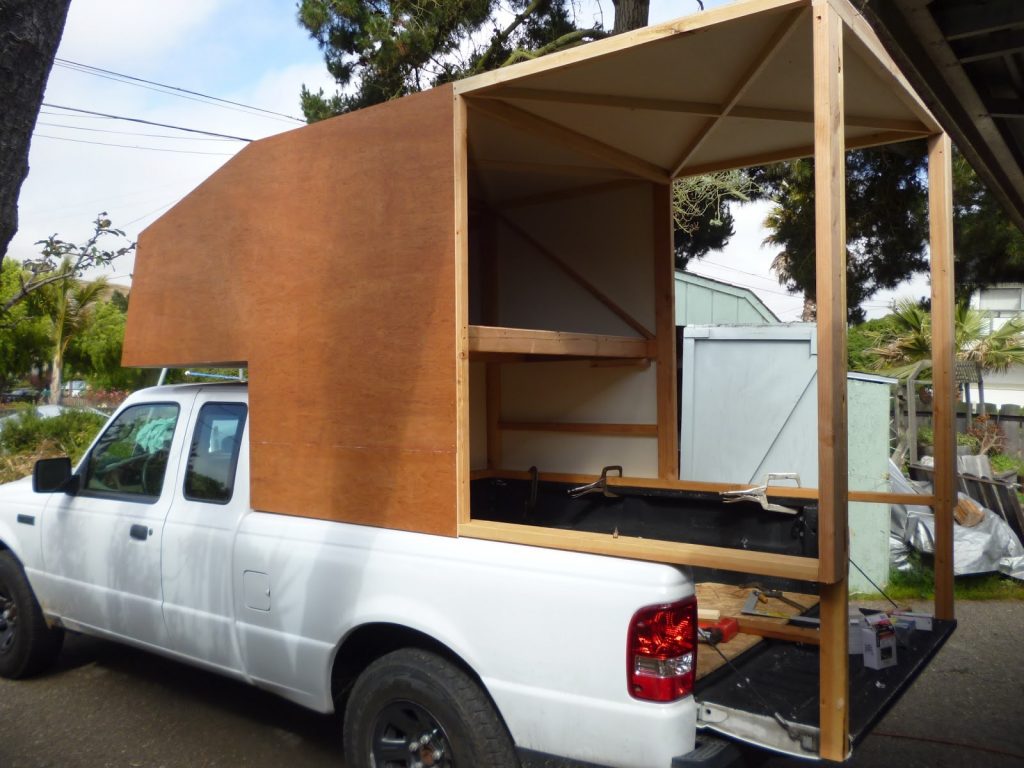
The next step is to secure the roof to the frame. It could have a curved or a triangle shape, according to your preference.
Do Insulation and Waterproofing
The next step of how to build a lightweight truck camper is to do make the walls and the roof insulated and waterproofed. Apply a layer of PVC sheet on the walls and metal foil on the roof. Finish the step by adding a layer of pressure treated wood planks that keep away microorganisms, termites, and fungal decay.
Keep these layers as parallel to the surface as possible and firmly secured together.
Install the Door and Windows
You have to make the frame with leaving blank slots for windows and the door. Install their frames in those slots and attach with glue and screws. Then, attach the bolts, latches, and hinges as required.
Use fix glass for the side windows to reduce the costs. A vinyl slider will be the right fit for the front window. Before installing the glass, use silicone caulk around the trim. It will keep the glass attached to the trim and seal all the slits and cracks.
Apply Exterior Insulation and Covering
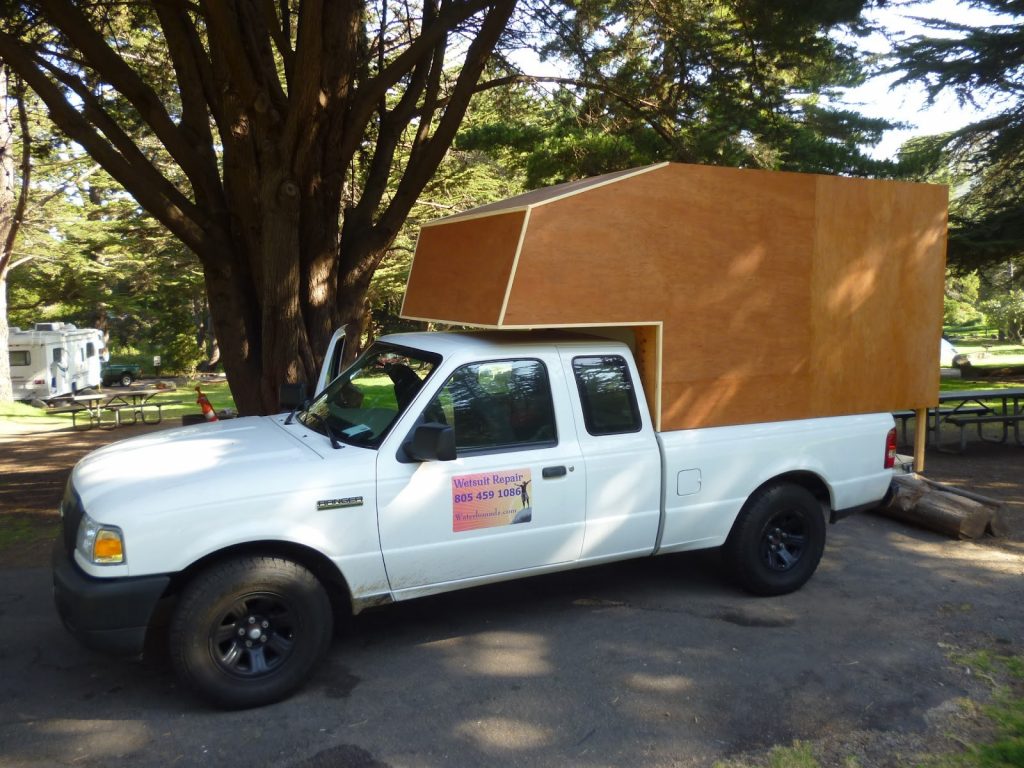
Put cotton and bubble wrap layers across the dimensions of the frame. You have to seal all the connecting joints to ensure that no air enters the interior. When it is done, apply a layer of plywood on them.
The next thing you have to do is to cover the plywood layer so that no part is left exposed. At first, use a brush or paint roller to apply glue on the entire exterior. If required, thin the glue by mixing some water.
Then, attach the kind of fabric you want to attach – it could be bed sheets or canvas. Cut the fabric into pieces in a way that it should overlap around the corners. Try to flatten with hands or something else to smooth out the wrinkles. When the glue dries, apply at least three coats of latex paint.
Create the Interior
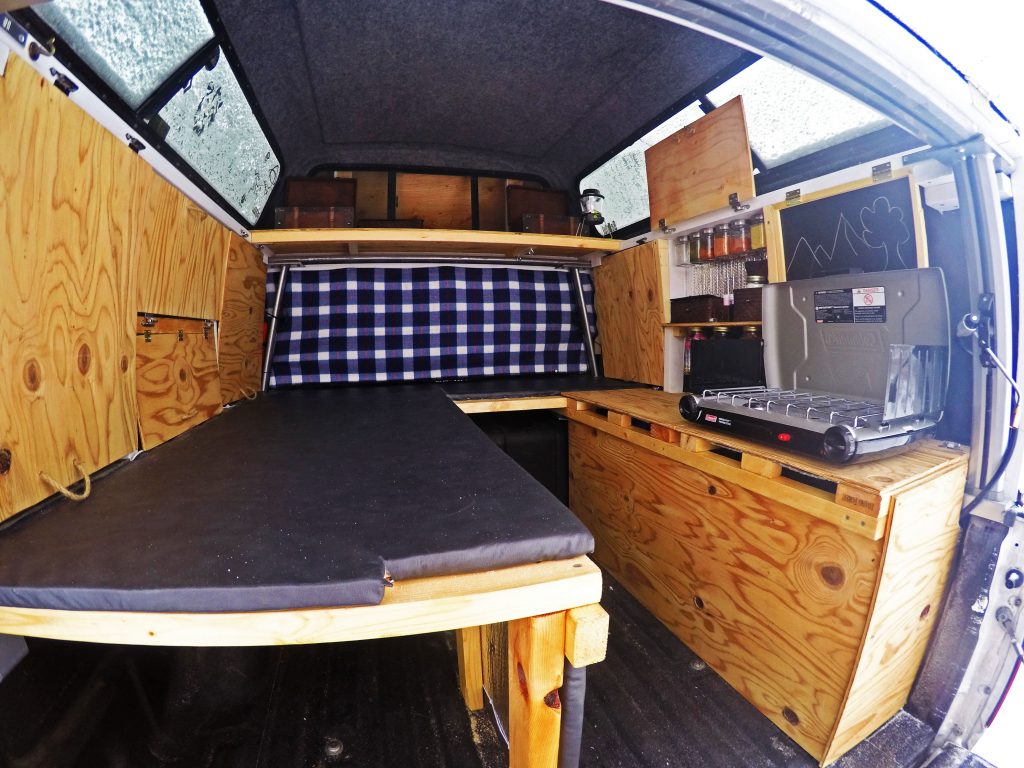
Use plywood to create separate sections and build the interior fixtures. Don’t use metal if not absolutely required. Using plywood or light wooden planks is the most vital part of how to build a lightweight truck camper guide.
Put Styrofoam in between the spaces of the framing fixtures. Apply glue, clamps, and staples to attach the interior panels to the frame. Remove the staples later.
Set up the Electric System
You have to set up a battery to power up the electric tools and kitchen appliances. Build a slot for storing a pre-charged battery and set up the wires that connect it to the tools and appliances. You can also connect the battery a mini solar system to have a steady power supply. In that case, the RV solar panels have to be installed on the roof. It will be expensive but proves to be cost-efficient in the end. Also, you will get a steady supply of power for running your devices.
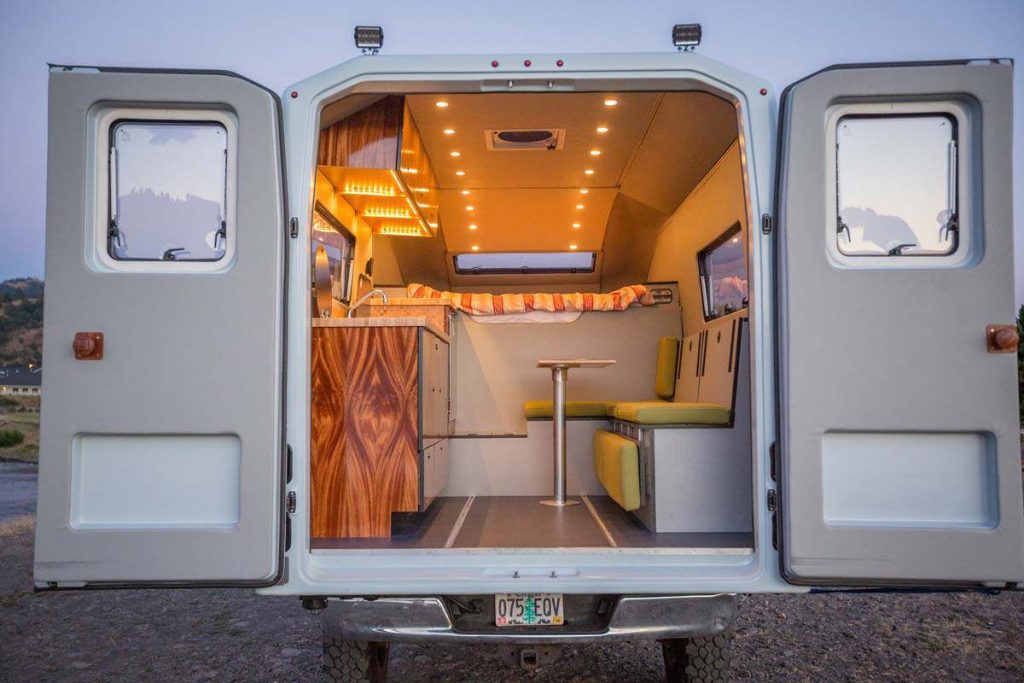
You can use an electric camp heater that draws power from the battery. But, gas cylinders can also be used to power a heater. Install several plastic electrical boxes instead of a single panel to get better and easier access. Keep all the wires and receptacle under the truck bed.
The Final Words
Learning how to build a lightweight truck camper is not difficult. Also, it is pretty inexpensive compared to purchasing a camper. Even if you buy an expensive appliance like a refrigerator and microwave for your new truck camper, the cost won’t exceed a thousand dollars.
Check out this Start to Finish guide:
https://www.youtube.com/watch?v=wBxPVUzNCWs
Last Updated on October 17, 2018
