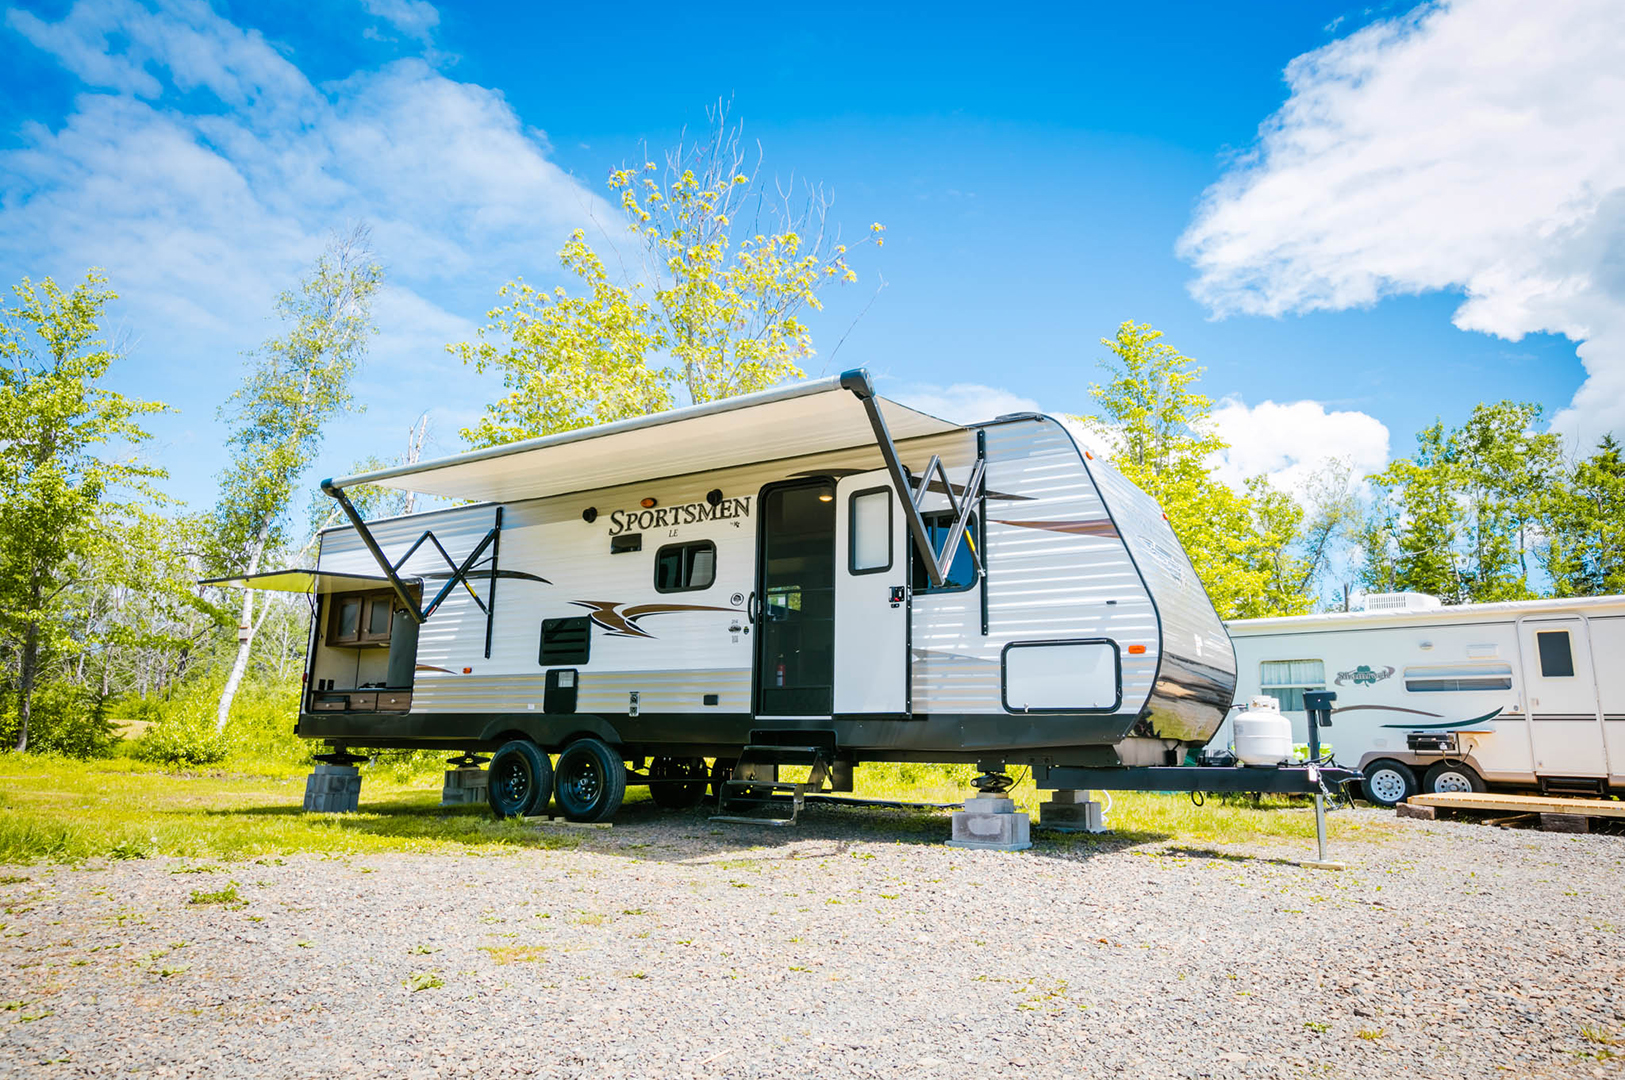
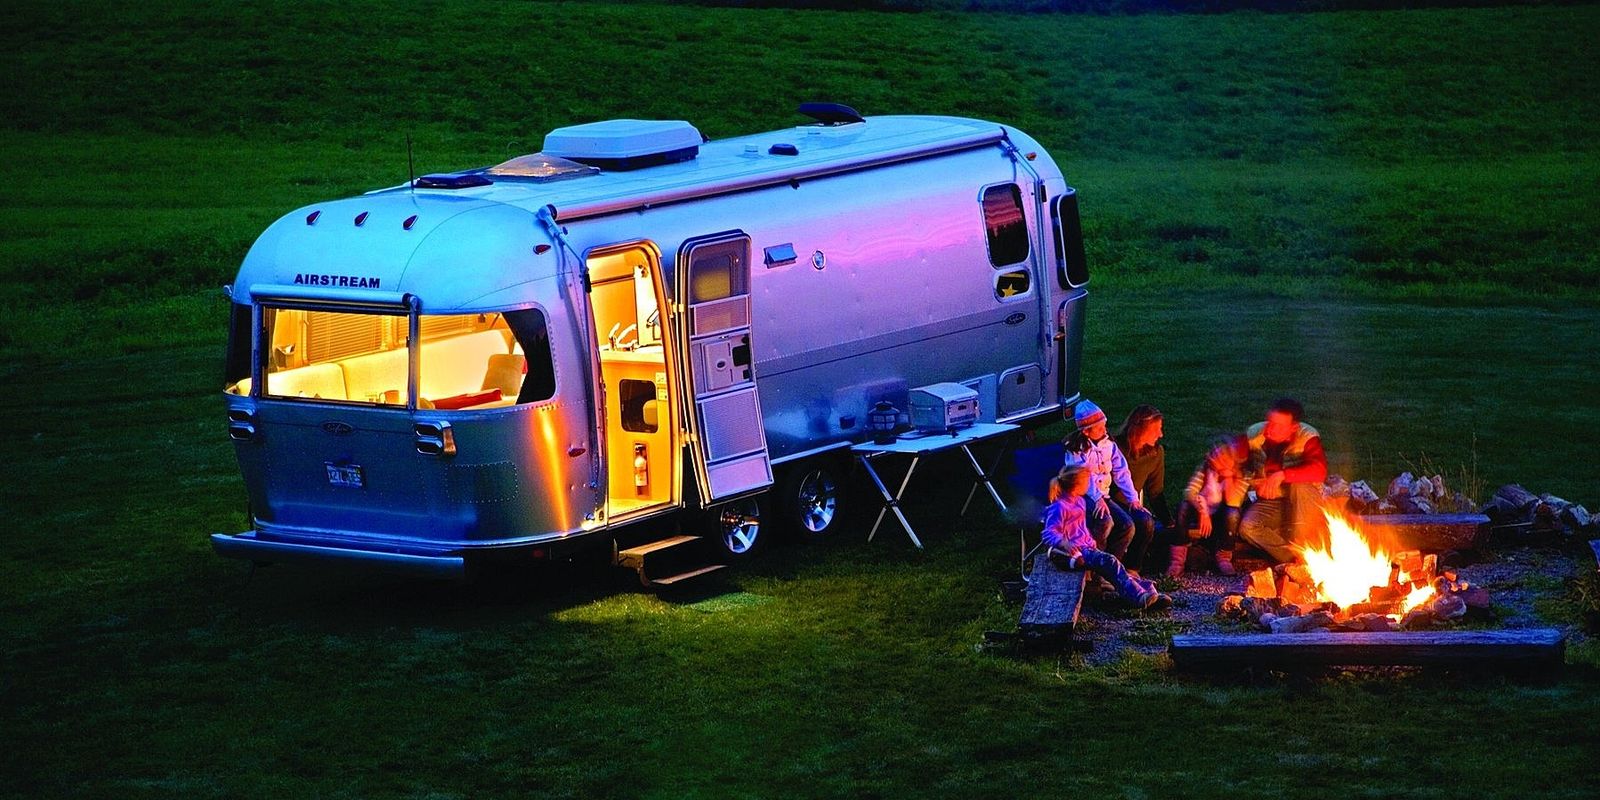
Once in a while, Rv’ers have to inspect their vehicles and perform repairs if needed to maintain the RV performance. It’s an important task since even a small hole could negatively affect the vehicle facilities and appliances as time goes by. At the very least, a damaged RV would have a much lower occupant comfort along with aesthetic value compared to an undamaged vehicle. That is why you should fix all RV damage as soon as possible to scale down the maintenance expense. Nonetheless, among the common repairs, replacing flooring in RV with slide is something that you don’t want to rush.
Should you have little idea about how to do it without damaging the RV further then this article is for you. Down below is a comprehensive list of necessary gear and tool plus step by step instructions on the replacing process. Take a good look at them in order to have a clear understanding of the project along with necessary preparations. However, to be on the safe side, you probably want to contact the RV manufacturer. They could provide you with valuable information or advice which would make your job much easier. While you are at it, re-read the insurance terms and policies as well. You don’t want it to be voided by mistake so be careful.
Contents
Tools and gears for the job
Well, you are not going to need high-level equipment here, just the stuff from your toolbox would do. Here are the things you must get: Scrapper, utility knife, staple remover, adhesive remover, carpet glue and some trash bags. These should help get the old flooring along with its carpet out of the vehicle interior without fail. Nonetheless, certain RV layouts may have a slightly different way to remove the flooring compared to the rest. That means you probably need to use additional tools but don’t worry, the principle should remain more or less similar.
Given the fact that you are about to face lots of splinters and accumulated dust, protective gears are a must. Equip yourself with a pair of goggles and a respirator, a face mask is also an adequate substitute for the latter. Wear a pair of gloves for the length of the operation, sharp splinter and staple could cause nasty injuries if you underestimate them. To lessen the strain on your body and prevent potential scratches, consider getting some knee pads as well. You have to stay in the same posture for quite some time and the pads should help a lot.
>> Read more: Best RV Mattress Short Queen 2018
The operation
Step 1: Get the old flooring and carpet out

Pry and scrape out the original flooring of the RV interior, it’s an easy process for most of the time. After that, proceed to remove the carpet as well though its removal is going to be a bit trickier than the flooring. Because of troublesome securing staples, you must invest a lot of time and effort to properly get rid of all the vehicle carpets. The number of carpet staple used in each RV is not standardized between vehicles, it’s tough to deal with them nonetheless. Yes, this is exhausting and makes you feel frustrated but it needs to be done.
Step 2: Cut the underlayment
Without the underlayment, some of the floorings may get unstable so it’s vital to cut out a couple of underlayment pieces. ¼ Inch Oriented Strand Board is good enough in the usual case but feel free to try out other options. Do calculate the desired underlayment size before you head to the store and draw out a cutting plan in advance. Mark the shape of the underlayment to guide your cut through the material and that would be it. The only thing left to do is to cut along the line and you shall have several quality pieces of underlayment.
Step 3: Paint the slide out underside
When it comes to replacing flooring in RV with slide, you want everything to be in perfect harmony from color to position. There is a good chance that you could see a wee bit of white here and there which contrast the surrounding color. These white spots are usually not substantial in size but they do stick out like a sore thumb, you can leave them like that. The best course of action is to paint them, ideally by black chalk paint but you could use other product as well. Let the paint dry then move on to the next step.
Step 4: Arrange the underlayment and the new flooring
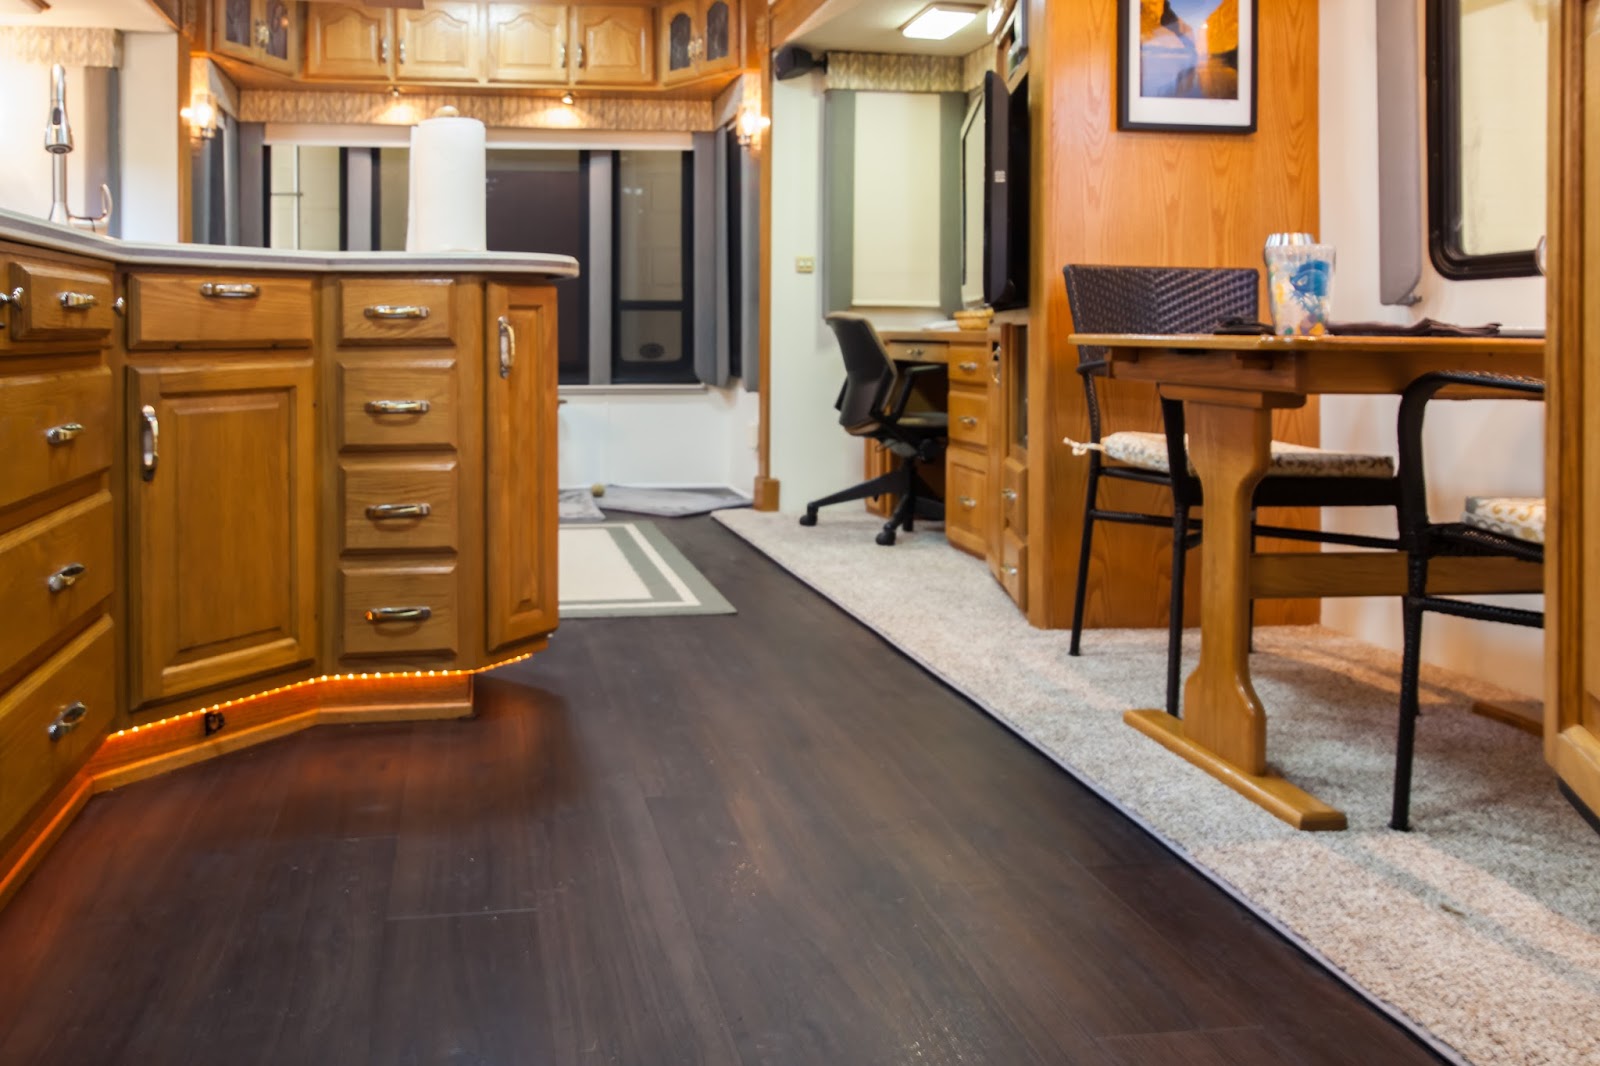
It’s a straightforward process from now on, simply arrange the underlayment pieces in the manner that suit you the most. Get the bigger pieces in first and save the smaller ones for later, especially the area near appliances and facilities. You may have to trim the pieces a bit to give them a better fit but there is nothing more than that. Finally, lay down all the flooring board, attach the trim and nail down the new carpet. Finish all that and you are set, throw the trash and excess material into the garbage can and enjoy the brand new flooring.
Some helpful tips for replacing flooring in RV with slide
Be patient
Replacing flooring in RV with slide is a delicate task, you cannot rush it or the result would turn out to be less than ideal. Take your time, move forward at your own pace and you would finish it eventually. For better efficiency, you could make a detailed plan about things to get and stuff to be done, it should help a lot.
Use corner moulding
A small gap is needed for the slide to move without damaging the flooring in the process but you can’t afford to have a big gap either. This is when corner moulding shall come in really handy as a trim piece.
Trim the pieces
One the underlayment and the flooring are in place, you may see that they actually hang over the edge of the slide. No need to worry there, just cut down the pieces a bit to increase the lip structural integrity.
Conclusion
And that is most of what you should know about replacing flooring in RV with slide. Not too hard to absorb, right? It could be tricky to perform at first but when you get the hang of it, the process is actually quite basic and logical. With the help of this article, replacing flooring in RV with slide is now just a simple task you could do on your own. This is a useful technique that you should know to prepare for your camping trips in an RV.
Last Updated on September 15, 2018

