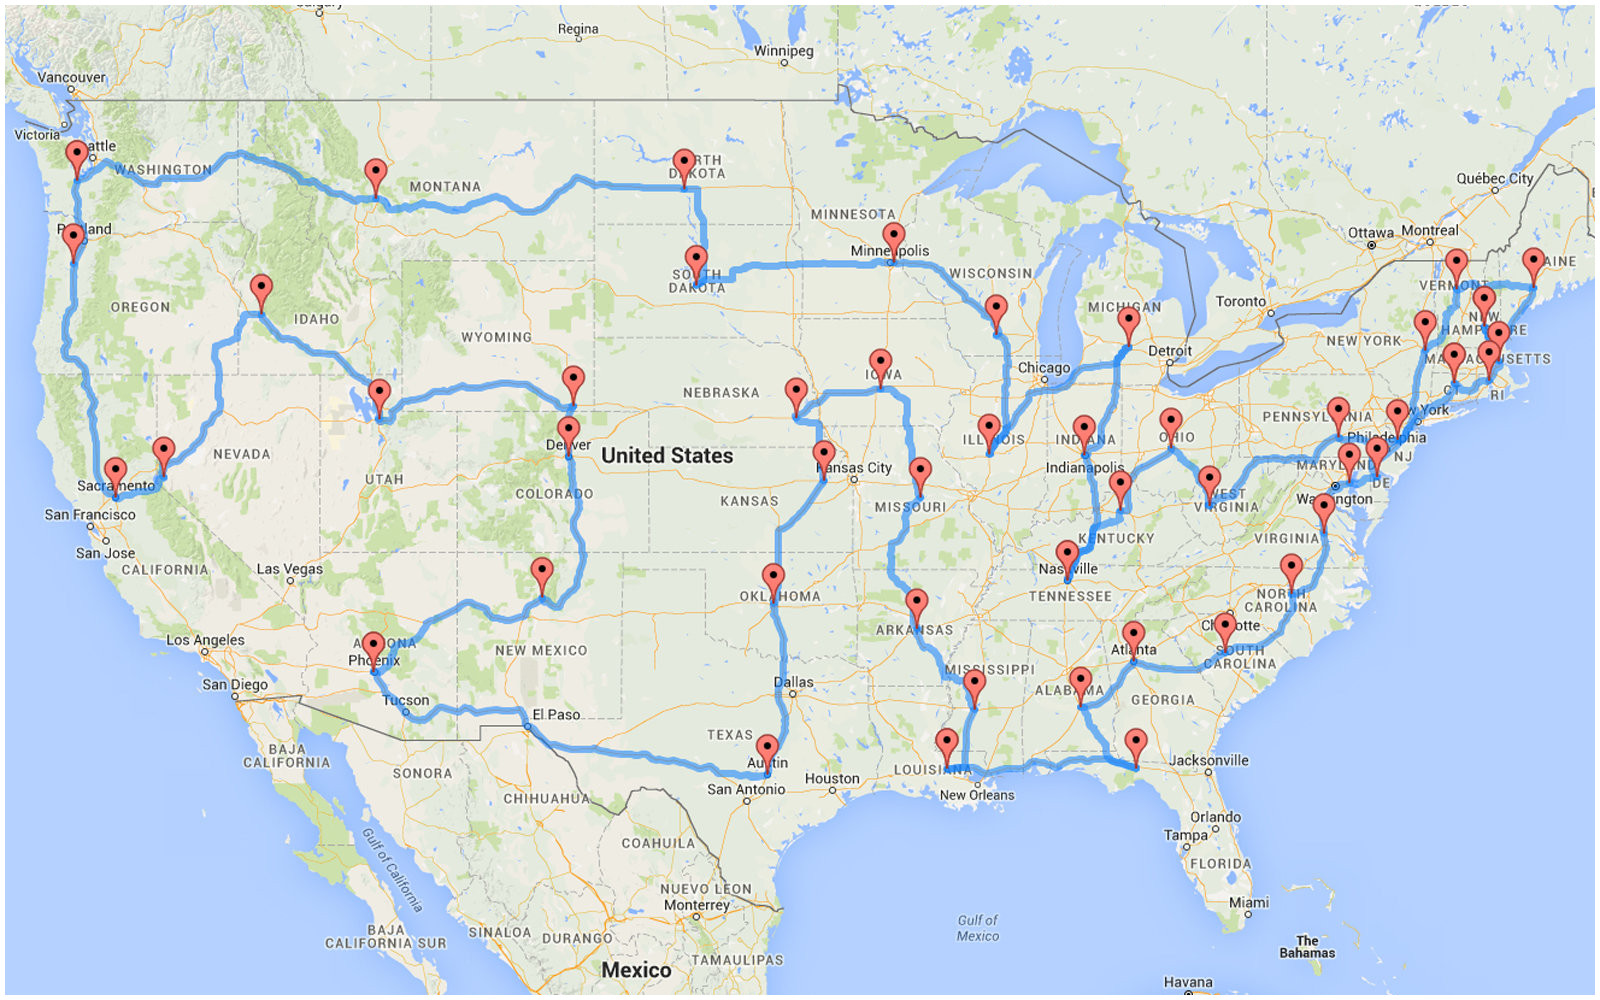
Imagine you are in a distant land on an exploration trip enjoying your sleep in your RV. It is morning, and the sun has started to shine brightly. Suddenly, the sun rays start falling on your beautiful face, and your sleep gets disturbed. Now that you were half awake, you wouldn’t want to get up and manually handle the awning. Then why not convert it into the electric awning. If worried about how to convert from manual to electric awning, here is the DIY process.
Contents
How To Convert From Manual To Electric Awning? Step-By-Step Process
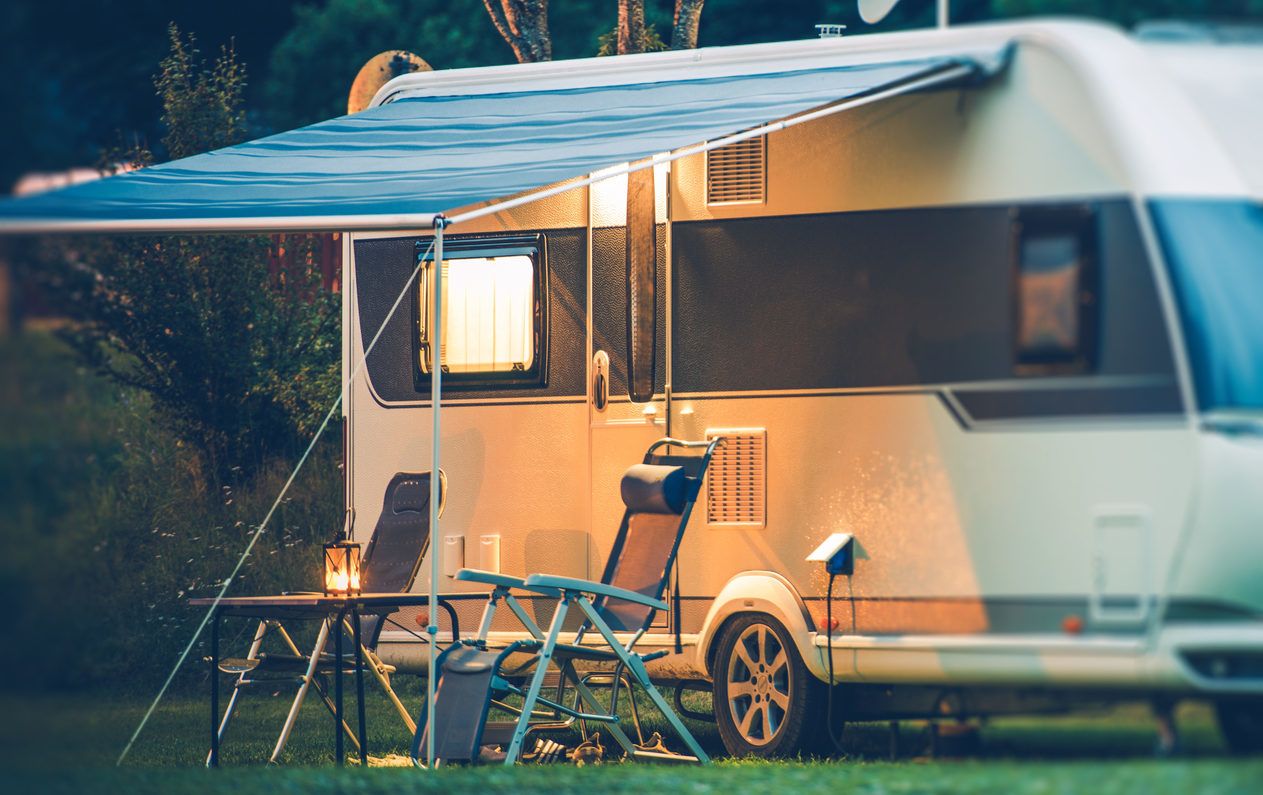
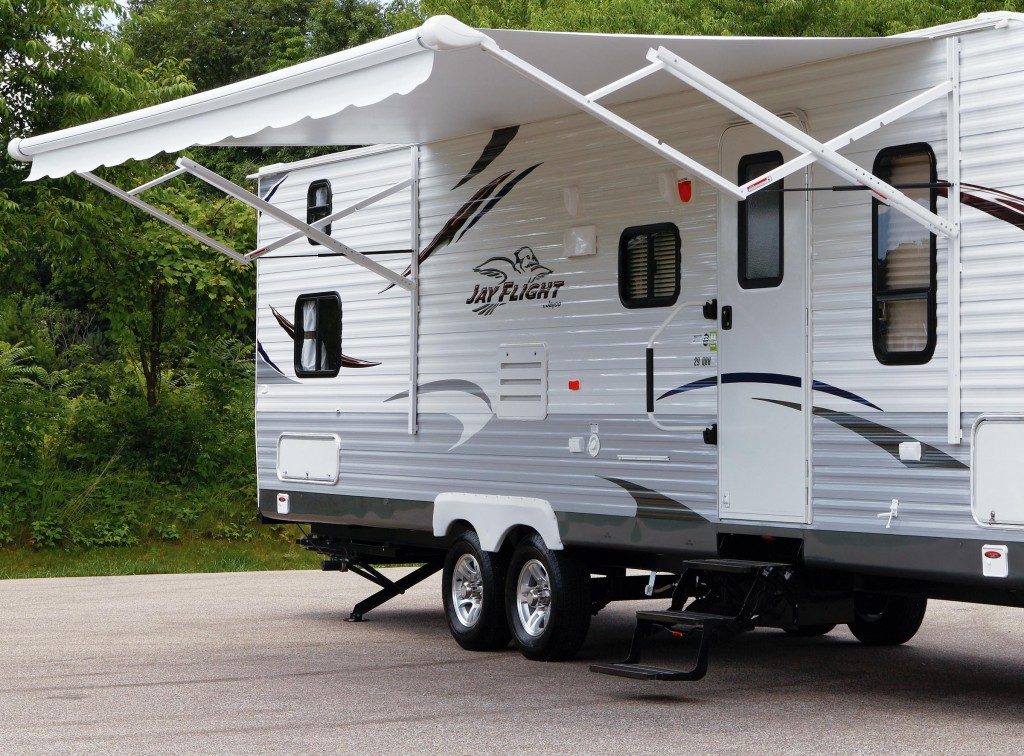
The awning is a secondary covering attached to the exterior of the RV. Studies suggest that an awning canopy can keep temperatures cooler to as much as 20 degrees. Even the carpet and the furniture inside the RV are less likely to fade with the much-needed shade. Now that it the era of automation let’s have a look how electric RV awning conversion is possible.
1. Purchasing The Tool Kit
The first and the foremost step is to purchase the electric awning conversion kit. You could easily find it in the market, or you can even make the purchase online. The kit should be containing a receiver box, connecting wires, idler side head, motor side head, harness, wax screws, switch kit, and other accessories.

Before you get on with the further process, make sure each of the listed items is present with you. Read on, to get on with the method of how to convert from manual to electric awning.
2. Install Remote Control Receiver Box
One should remember to install receiver box in a safe place in the RV. The box should not be exposed to sunlight or a place where you generally find yourself hanging stuff. The wall of the RV that is isolated and less used would be the best in this case. Now, that you know where to install the box, mount it and tighten it with the screws provided.
You could even consider covering the receiver box to protect it from any damage by human negligence or otherwise.
3. Making The Connections
Find the manual in the kit you bought. Go through the wiring instructions before you handle the wiring system. Remember, this is a delicate job and needs precision, so you should know what you are doing. Now, detect the four-core cable affixed to the six-pin plug. This step is part of identifying the wiring connections present on the wiring harness. Keep in mind that the wiring harness design can differ from model to model.
Next, follow the color code scheme and connect the 4-core cable to the awning system. Make sure that all the wiring connections are intact inside the junction box. Once the wiring harness is attached to the awning, affix the six-pin plug to the receiver box. Connect the receiver box to the power source, and the electric camper awning connection is successful!
Read more: Best RV Awning Lights | Top Picks and Buying Guide
4 Conduct A Test
Turn on both the receiver box and the power supply. Get the remote control in your hand, and look for extend/retract buttons. Click on both the buttons to check whether electric RV awning conversion is successful. The good thing is, you can also adjust the slope of the awning that too remotely.

Wrapping Up
This is the DIY process that answers how to convert from manual to electric awning. Your RV is your second home no matter where you go, that is why knowing such tricks are useful. What is the wait for? Give your RV the automatic touch, today!
Last Updated on December 3, 2018
