A fully functional water pump is one of the must-haves when you are RVing. It ensures that you get the fresh water supply whenever needed. Do you know that the pump needs priming before using for the first time? It is also necessary to do when you run the pump after a long time. For this reason, any camper should know how to prime RV water pump.
Contents
What Is Priming of a Water Pump?
Priming is the process of flushing water back into the pump and forcing through the machine. The water helps the pump to produce adequate pressure for smooth operation.
Doing the priming is vital before running the water pump for the first time. Also, when you keep the pump shut off for a long period, it runs out of pressure. It can go back to normal functioning only through priming.
How to Prime RV Water Pump
Priming is nothing difficult. With our step-by-step guide, you can do it easily without wasting any time.
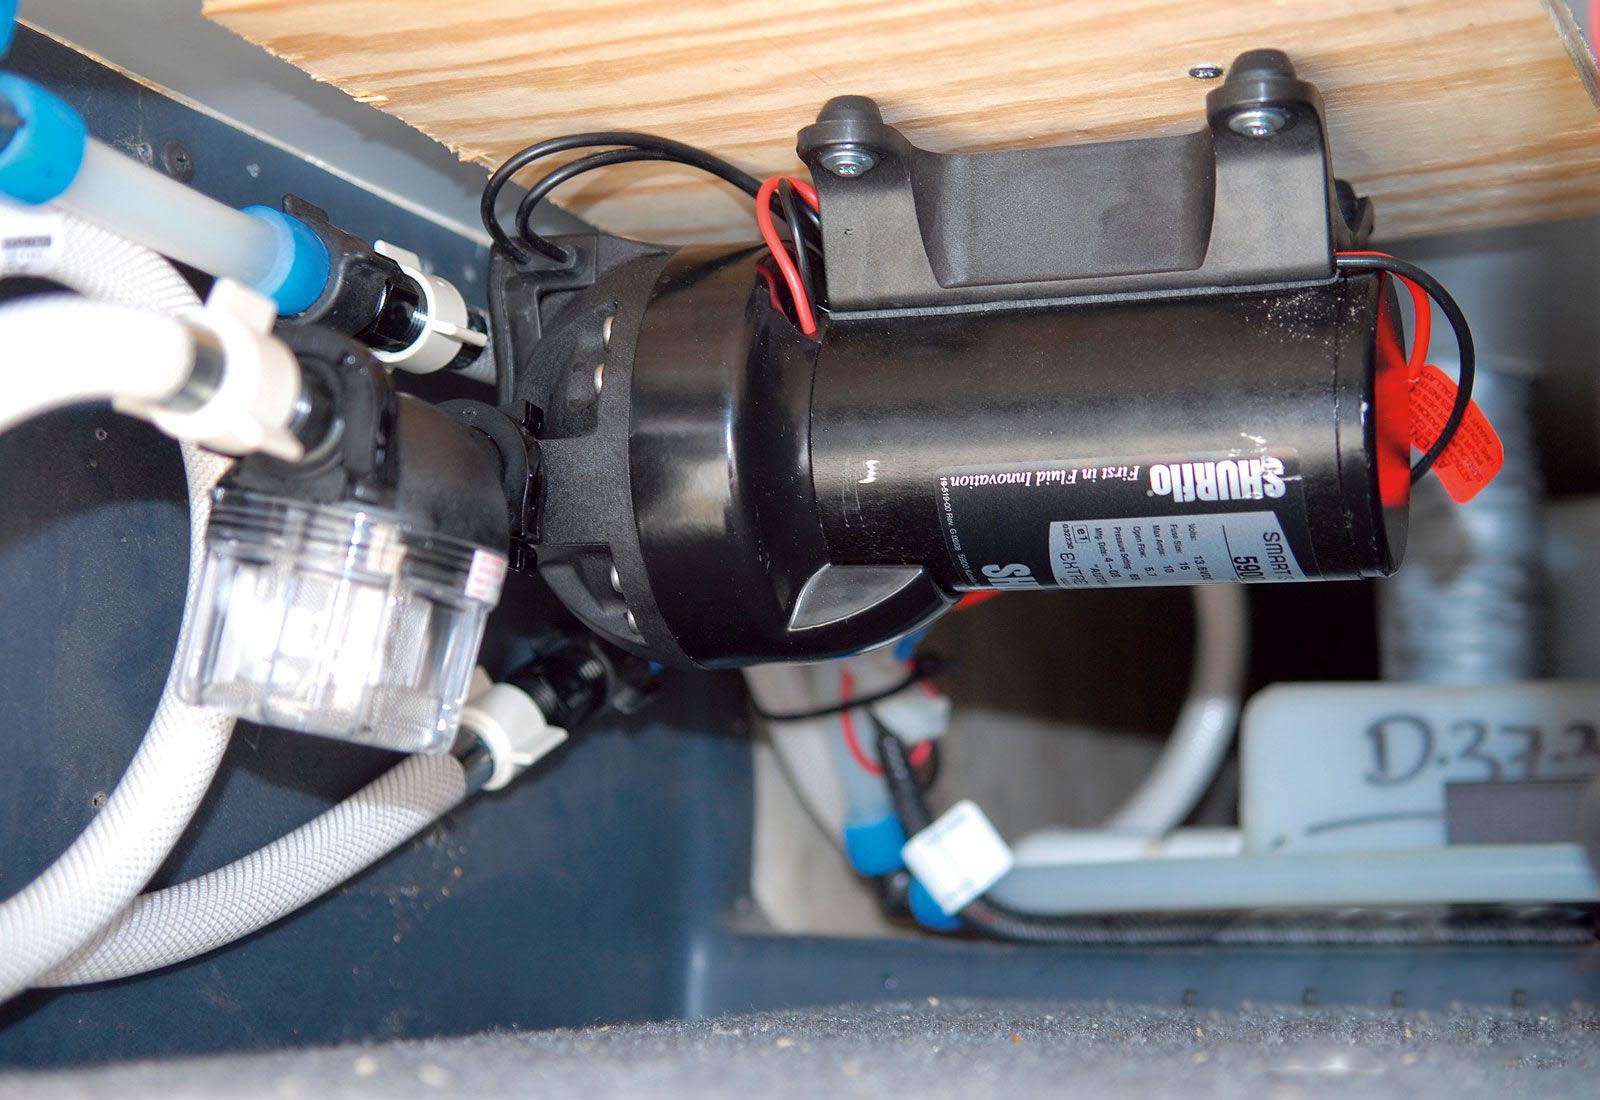
However, the first hurdle to overcome is to locate the pump and access it. In order to position the pump near the water tank, it often ends up inside the cabinets or under the bench seats. If you can’t find it in these locations, trace the water line inside the cabinet below the kitchen sink.
Here is how to prime RV water pump without calling for professional help:
Step 1
The first step is to disconnect the water outlet hose from the water pump. You will find a screw attaching the line to the pump. Turn it counterclockwise until you can pull the line off. You don’t need to remove the screw, just make it loose enough to remove the hose.
The outlet line is made of clear plastic. It comes out of the RV water pump and then enters the RV to supply water to wherever you need – showers, toilets, and kitchen.
Step 2
Remove the collar from the outlet line to the end point of the rubber hose. Connect the hose to the outlet that spurts on the pump. Make sure that the rubber hose and the water line have the same diameter. The hose also has to be long enough so that there is no need to stretch it.
Connecting the hose to the outlet does not require any hard work. All you have to do is to screw down the clamp.
Step 3
Fill a jar with at least 12 ounces of water. Hold the hose high in the air so it is above the level of the water pump. Now, pour the water into the hose.
Priming is necessary after the first installation of the pump.Step 4
The next part of how to prime RV water pump is to switch the pump on but don’t forget to put your thumb on top of the hose before doing so. It may take a minute to build the water pressure. When it does, you will feel water touching your thumb. When it happens, switch the pump off.
Step 5
Remove the hose from the RV water pump and connect the outlet line instead. Turn a faucet on and then go on and switch the pump on. Water should be coming out of the faucet after a few seconds.
This is how to prime RV water pump the right way. Some people use antifreeze material in the water lines when storing them during the winter. If you have done that, keep the faucet running until the water coming out of it completely clear. Antifreeze materials can be harmful to your health. So, you should wash off its trace from the water lines.
Some Helpful Tips for Priming
These tips will help you to carry out the entire priming process without any hiccup. Check them before jumping into the task:
- Locating the water pump can be a trouble. The kitchen sink is the first place you should try. If there is no luck, look around carefully for the water lines.
- Use a rubber hose that is designed for supplying drinking water. It is a must-have if the water tank supplies freshwater to the RV. A hose made for other purposes will not guarantee the absolute cleanliness.
- Sometimes, air gets trapped in the water lines and reduces the pressure building capacity. To avoid this problem, pour at least 1 gallon of water into the line. It will help to release the trapped air.
- You should know the capacity of the water tank to know how much the camper can carry. If you are going to a campsite with no fresh water, you may want to keep the tank full. But, remember that a 50-gallon tank filled with water can add 400 pounds to the vehicle (1 gallon = around 8 pounds). So, get your calculation right before embarking on an adventure.
Last Updated on December 8, 2021

