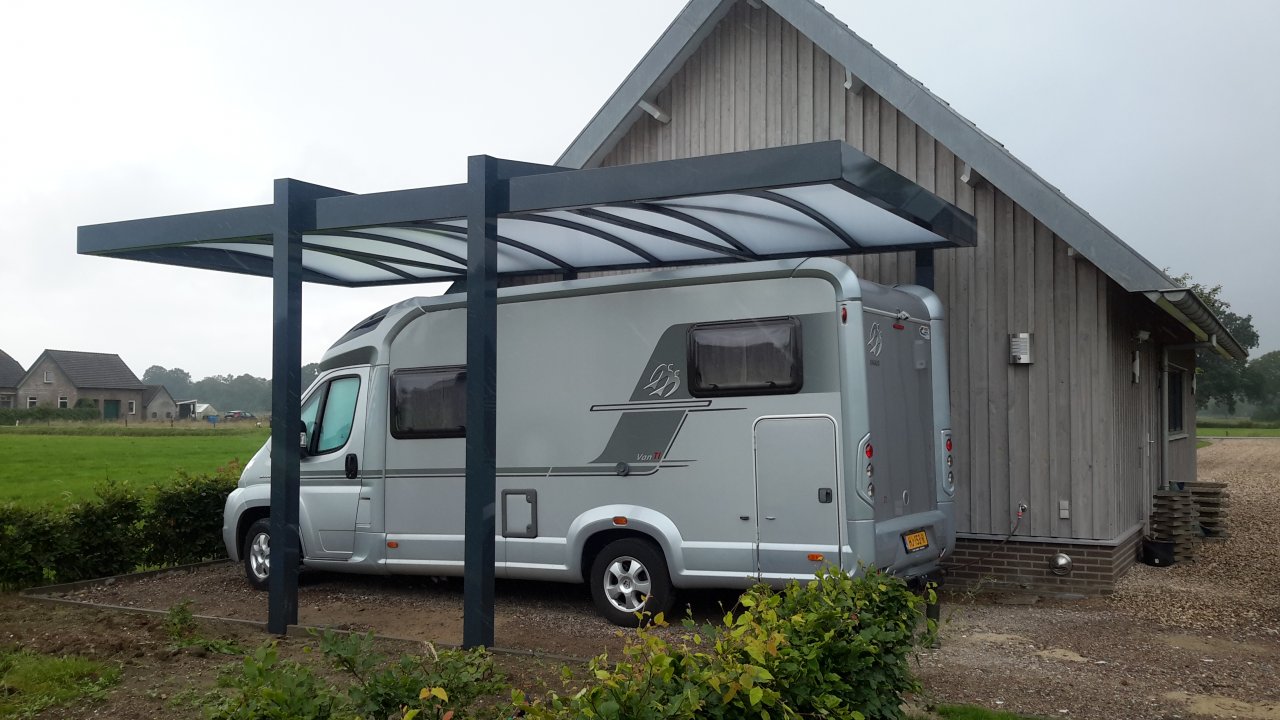
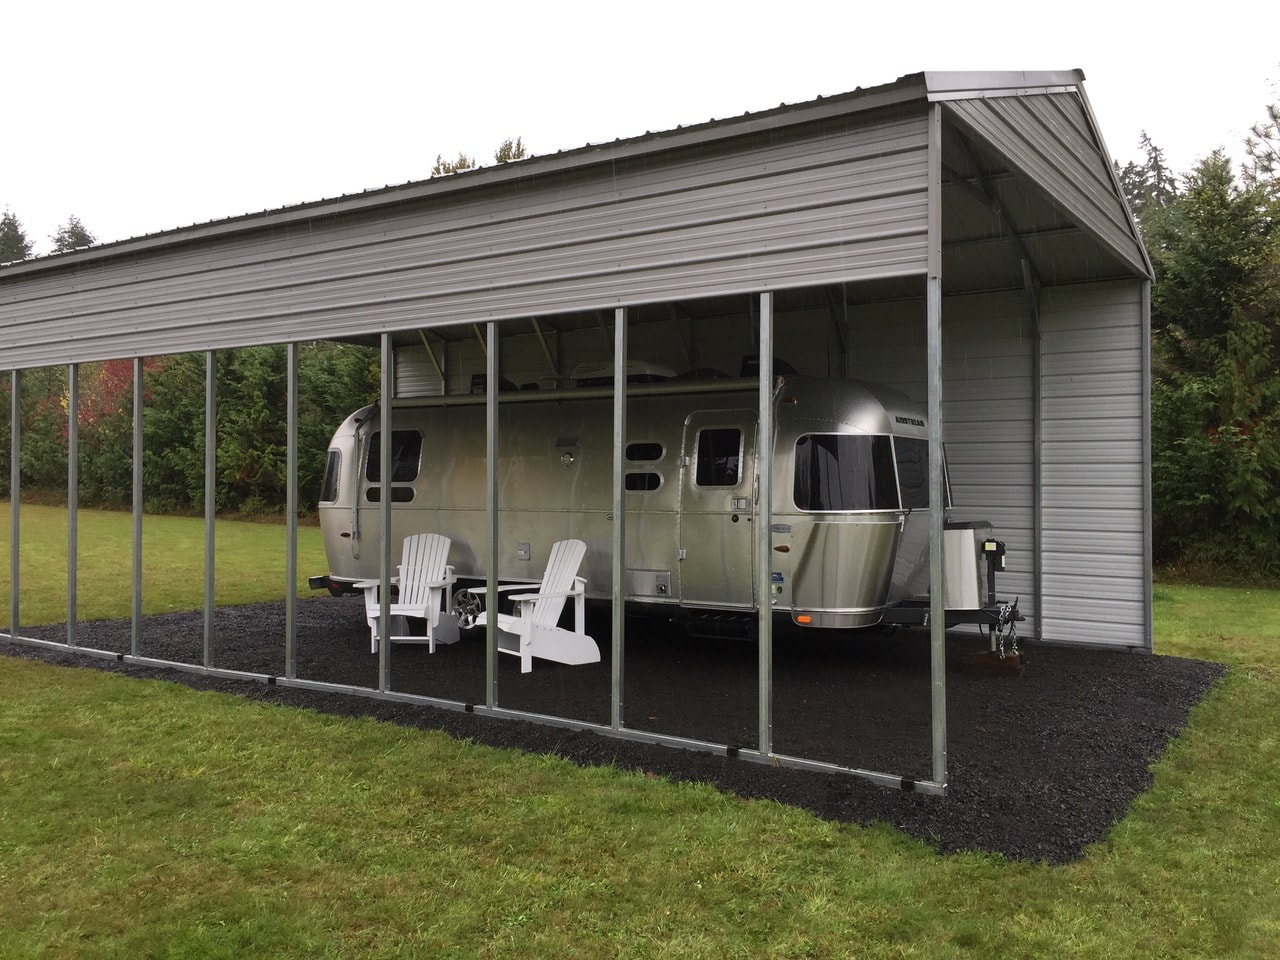
Generally speaking, winter is a harsh season for all vehicles due to the low temperature, snow built up and warm seeking rodents. However, by setting up a roof right over your camper, you should be able to eliminate or at least reduce these issues somewhat. “But I don’t’ know how to build a roof over my camper. I have no idea about what to do or where to start”, you may think. In that case, this article would provide you with a step by step instruction on roof building along with several helpful tips and tricks. Take a look at the information below and you would have an easy time erecting a stable winter shelter for your precious vehicle.
Contents
Material and equipment
For the material, you are going to need lots of wood planks and beams to completely cover the top section of your camper. Wood is light, flexible and easy to manipulate but to be on the safe side, ensure you reinforce everything with metal braces. In addition to that, prepare a couple of pier blocks and several bags of concrete. In term of design, you could go after a simple style or a complex one, pick whatever that suit you. Nonetheless, you must take into account the weight of the snow built up and the cost factor. It’s recommended to drawn out the dimension the roof beforehand so you are able to plan the material consumption and weight support.
If you proceed without proper consideration, the roof could come crashing down onto your camper which could cost you dearly in repair fee. On the other hand, building a sophisticated roof when you are only around for a couple of months may be an inefficient investment. But no matter what, safety is number one priority, equip yourself with appropriate protective gear for the duration of the project. Ask people to come over and assist you, having addition pairs of eyes is helpful when it comes to a construction like this.
About the tool, you don’t need specialized stuff, most of what you need should be in your toolbox or the local hardware store. You also are going to need a tall ladder or several sets of scaffolding to work around the roof posts. When you are finished with the preparation, it’s time to get down to business.
>> You may also like: How to Hook up RV Sewer At Home <<
How to build a roof over my camper: The building procedures
Note: Believe it or not, I also don’t how to build a roof over my camper until very recently. Fortunately, you could check out all kind of guide and hints the Internet nowadays. Therefore, if you happen to get stuck somewhere, go online and look for more detail instruction.
Step 1: Dig the base of the roof and install pier blocks
Select a level ground and then start digging a series of 1 foot deep holes for the pier blocks that form a rectangular outline. The length and width of the rectangular would be entirely dictated by your camper profile though you should attempt to keep it roomy. You have to move the camper in and out so ensure that the rectangular dimensions are slightly bigger compared to the camper specifications. That should allow you maneuver the camper much easier in time of need. This method also makes it easy to seal up the sides in case you want to convert the roof into a complete shelter.
After the blocks are in place, mix the concrete with water base on the manufacturer manual and pour the mixture into the holes. Wait for the concrete to dry then check out the state of the block. These blocks form the base of the camper roof so be thorough with your inspection. If you are certain that the cement and the block have bonded well with each other then you could move on with the construction. In the case you feel that the cement have failed to secure the block properly, you may have to consider reapplying a new layer of cement.
Step 2: Erect the posts and assemble the roof panels
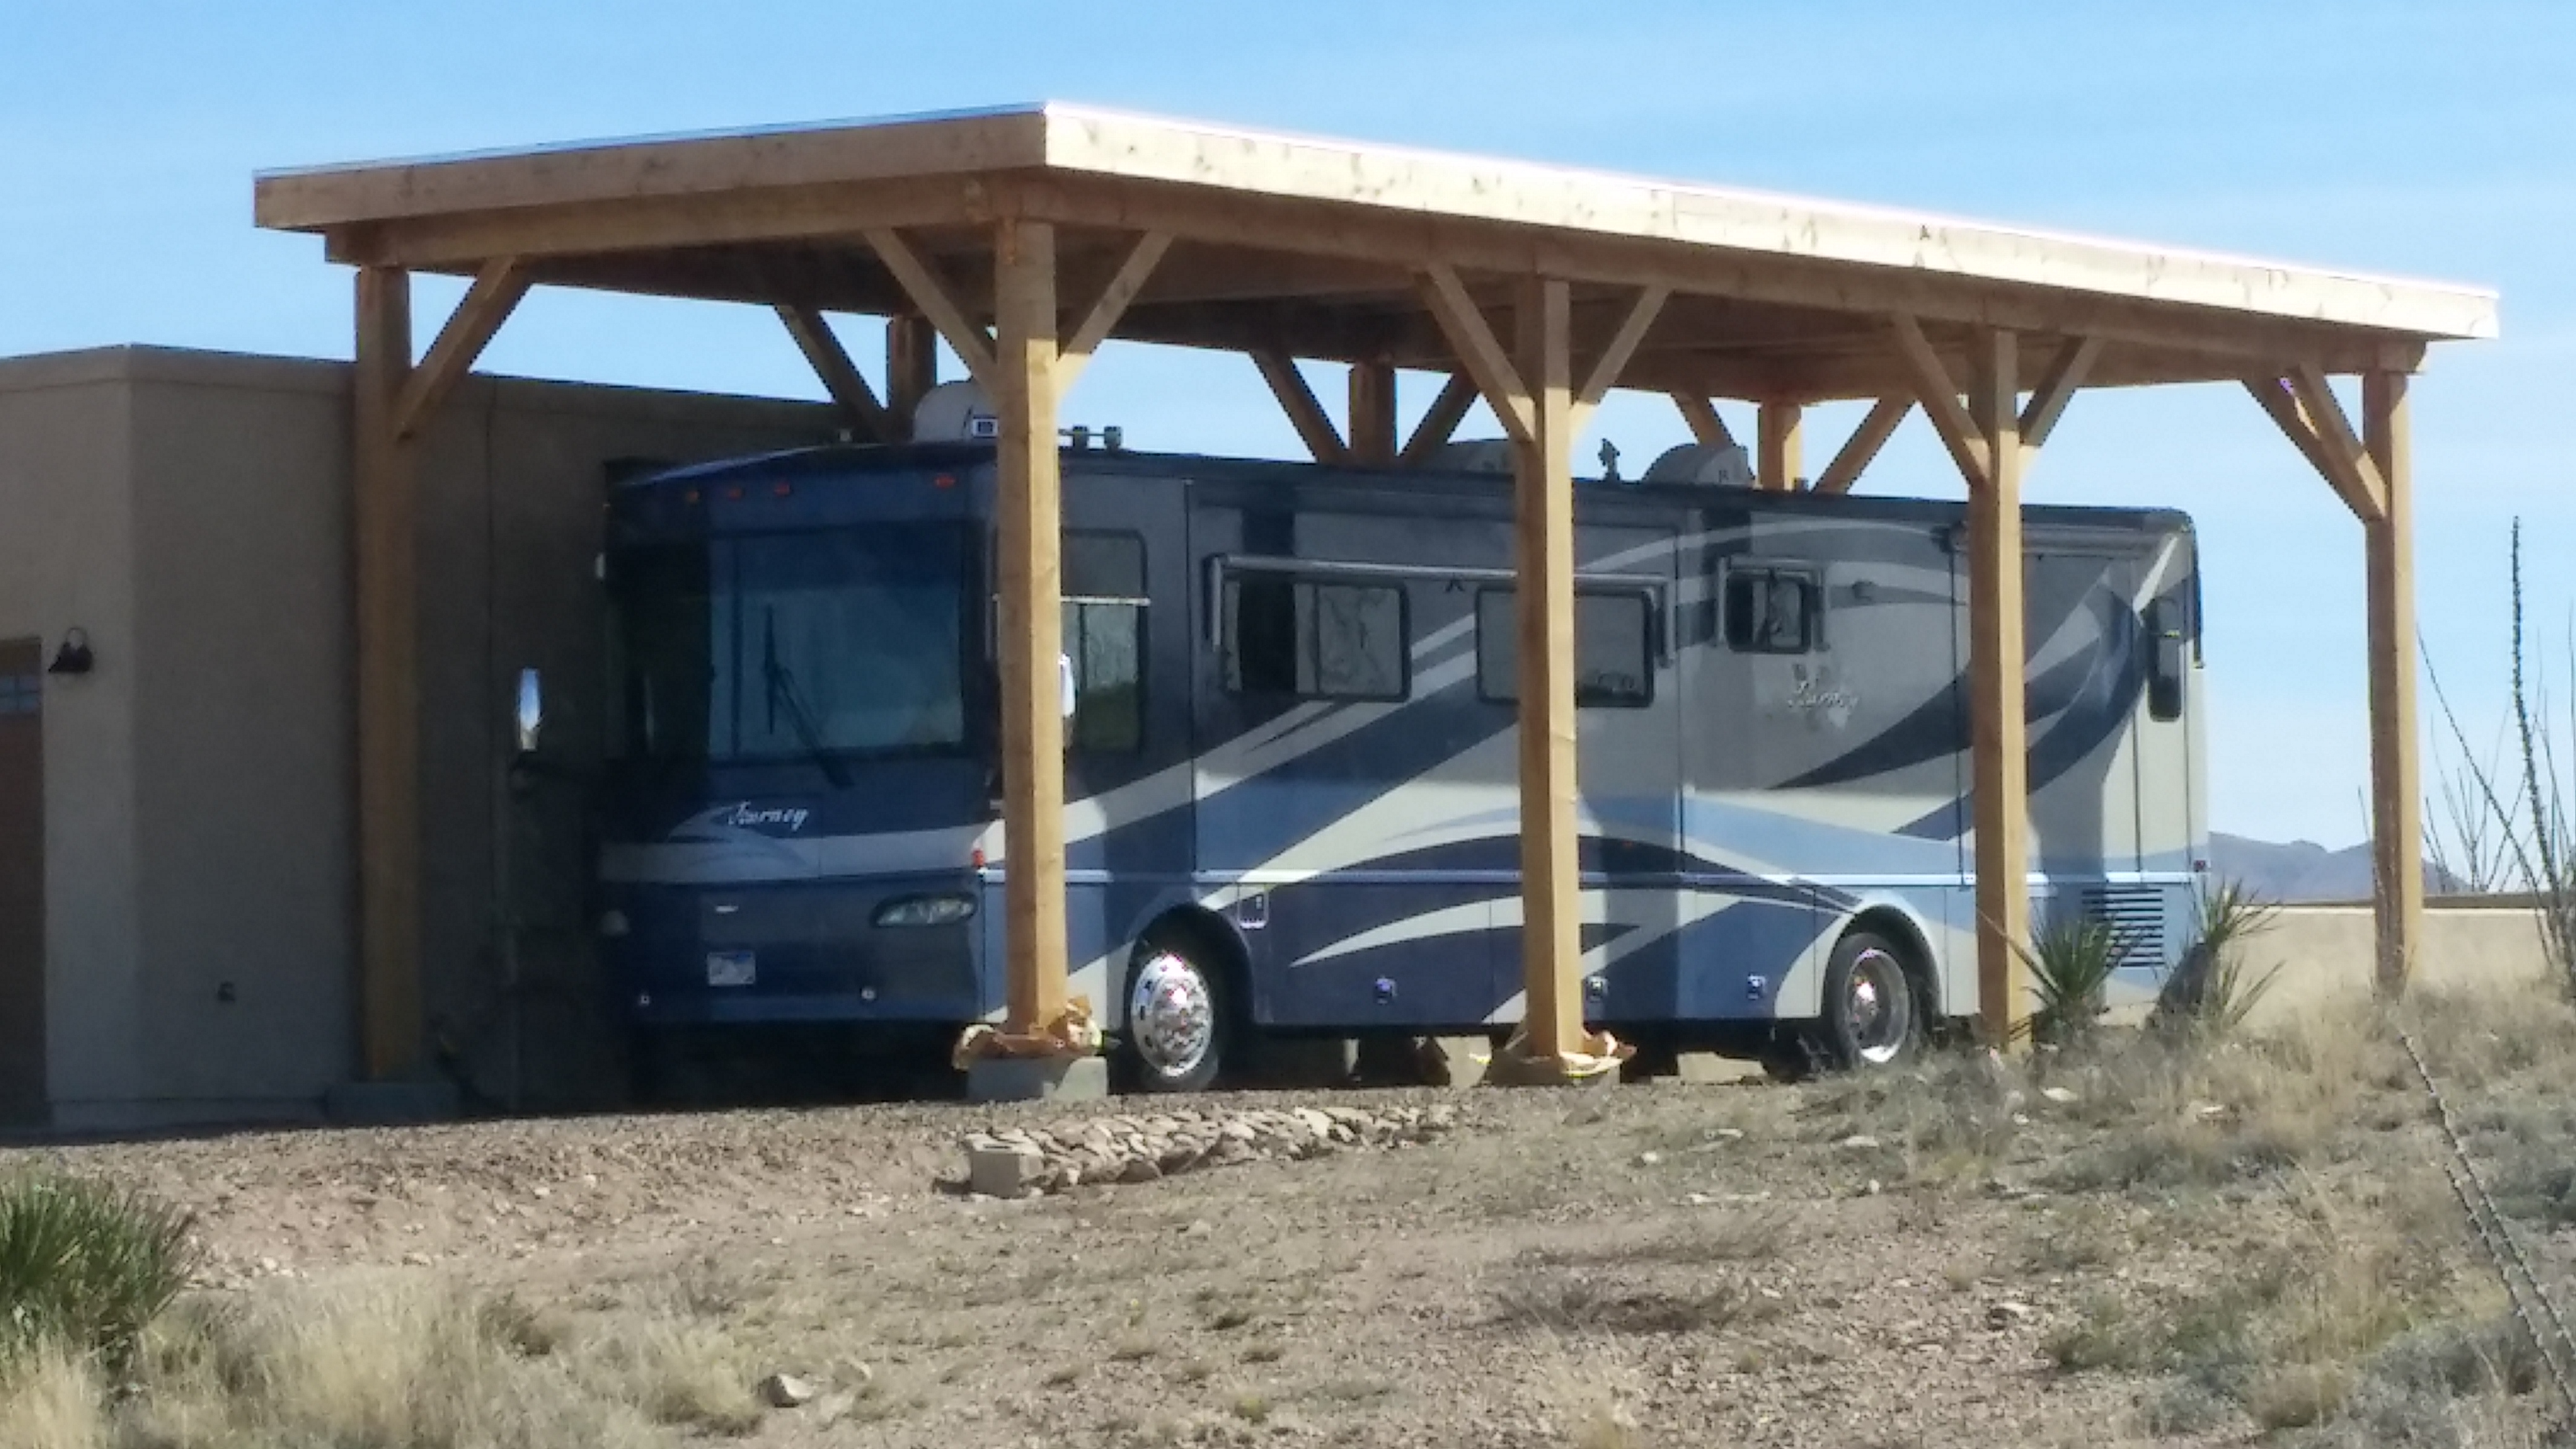
Connect the blocks with wood beams to form the roof posts, the height of the posts would be decided by the camper and its features. This includes any external equipment that you may have on the top of the camper such as the air conditioner and so on. For most of the time, you should add 1 foot to the total height of the camper as a precaution. If you expect heavy snowing and want to slant the roof then you could decrease the height of the posts by a foot or two. After you are done, go around and check the stability of the posts, they must not show any sign of wobbling and alike.
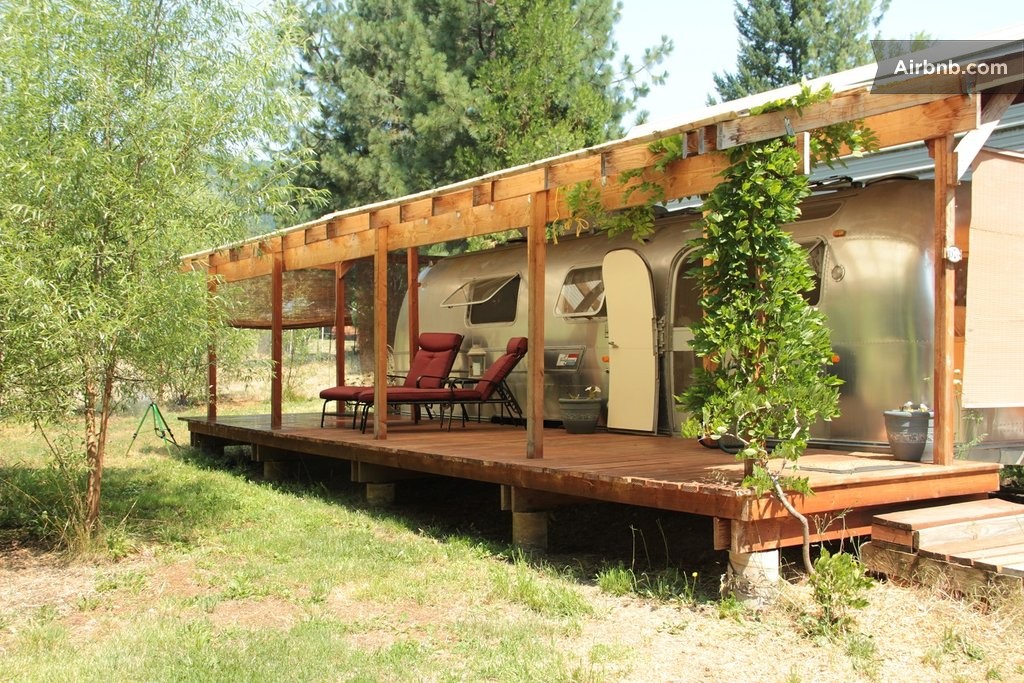
Next, you have to gather and secure a couple of plank to the posts which would serve as frame boards for the roof. In addition to that, attach addition planks to the top of the frame boards as the roof rafters. You must space the rafter equally and leave an overhang on either side of the frame. Finally, nail the roof panel to the rafter and that should be it. It’s often recommended to overlap these panels so as when it rain, the water could not seep through the gap. Use as many nails as you like to secure the panels, you don’t want them to get blow away by heavy winds.
>> Read more about RV camping tips, click here! <<
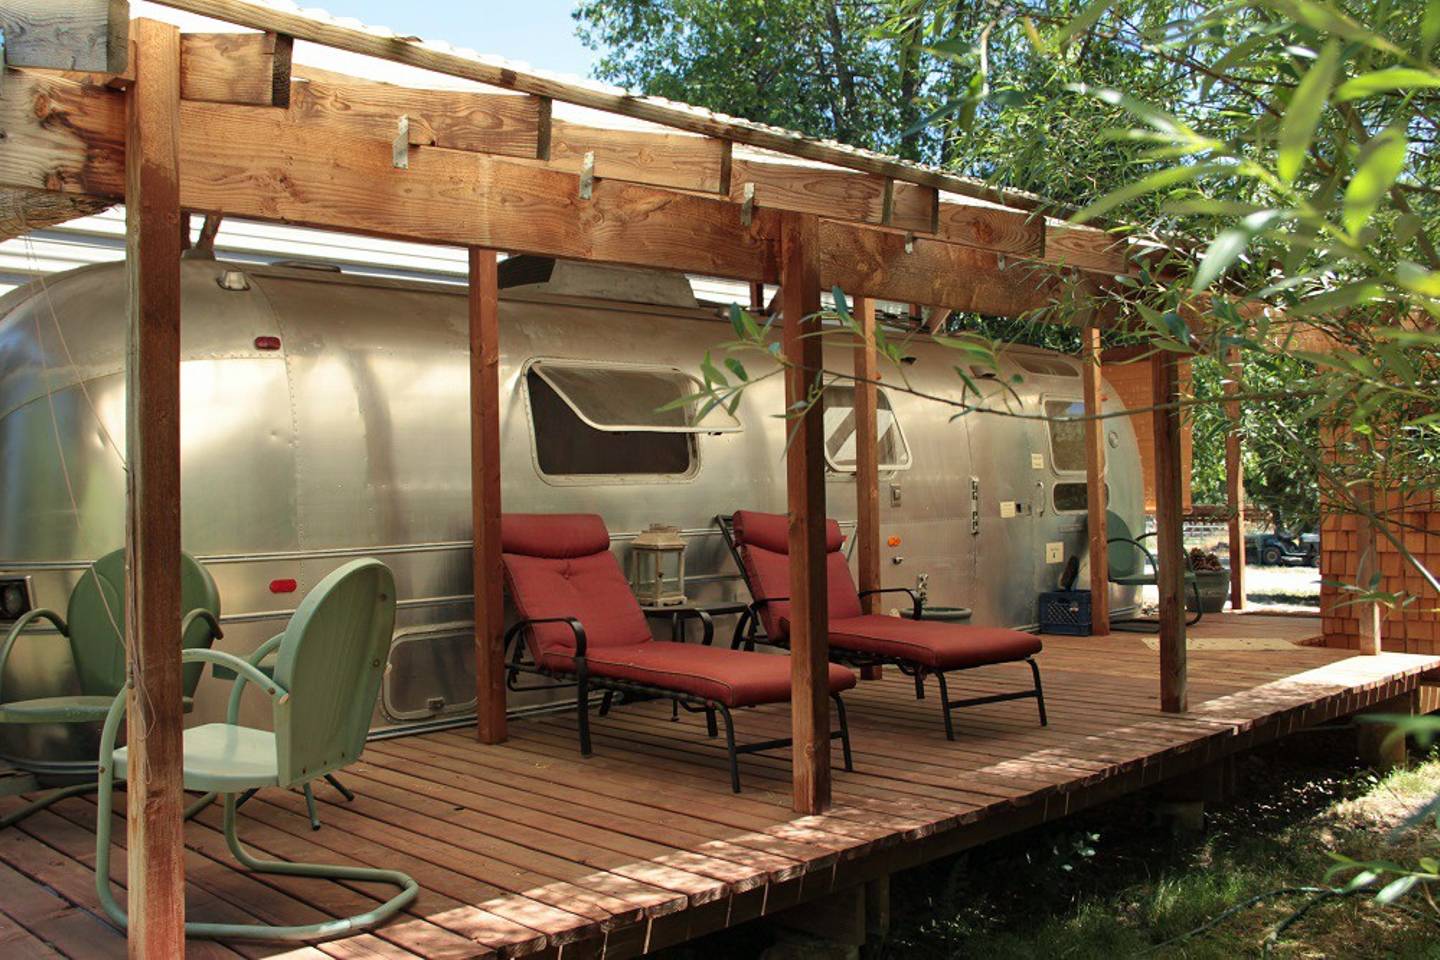
Step 3: Inspect the roof and reinforce the structure if needed.
Get to corner posts of the roof and push them to test the structural integrity of camper shelter. If you manage to make them wobble even for a bit, put up cross braces on the frame and reinforce the posts immediately. The roof bracing boards should be arranged in this manner: One to the outside of the frame and one to the inside. These boards would intersect in the center of the frame diagonal. If everything goes smoothly, your shelter should be ready to be used at that point.
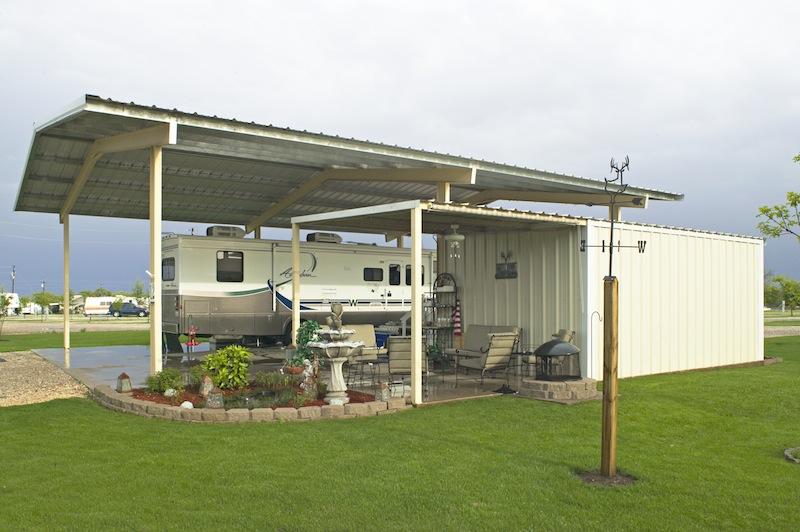
Step 4: Board up the sides (Optional)
It’s not a bad idea to cover up the sides of the shelter to provide your camper with a better protection. It’s pretty simple because you already set up a series of posts so you only have to nail in some boards. Use metal braces to reinforce the joints and that would be everything.
>> See also: How to Heat An RV Without Propane During Cold Weather <<
Conclusion
And that should be everything, not too hard to understand, right? When I started learning how to build a camper over my camper by myself, I ran into a lot of issues but it all worked out in the end. Though the project is not exactly a walk in the park, it’s still something that anyone could accomplish with a bit of time and effort. I hope that with the help of this article, you should be able to claim: “Now I know how to build a roof over my camper”
Last Updated on June 30, 2018