Every seasoned adventurer knows that in order to survive in the middle of nowhere, knowing how to build a long term survival shelter is crucial. Without a shelter, your chance of getting back to civilization would drop due to cold, heat, wet and so on. As a result, most survivalists tend to consider that in emergencies, setting up a place to rest and sleep is one of the top priorities. But is it hard to assemble a shelter from scratch? Should you prepare tools and materials to facilitate the process? Do survival shelters require daily maintenance to stay in shape?
Contents
Getting Started At Making Shelters
You are about to take part in an outdoor adventure but know pretty much nothing about shelters and their construction? If that is so, this article shall show you how to build a long term survival shelter on your own using easy to find materials. Overall, it’s not hard to put together something that shields you from the elements as long as you manage to grasp the general idea. Check out the information down below and you should be able to fabricate a robust natural shelter with relative ease.
Preparation: What You Must Remember
It’s possible to build a shelter with your bare hands but that requires a lot of times and efforts. That is why it’s a good idea to pack a couple of things to assist you in the project. Different people have different opinions about what to bring but in most of the case, there are 3 items that always come in handy while camping.
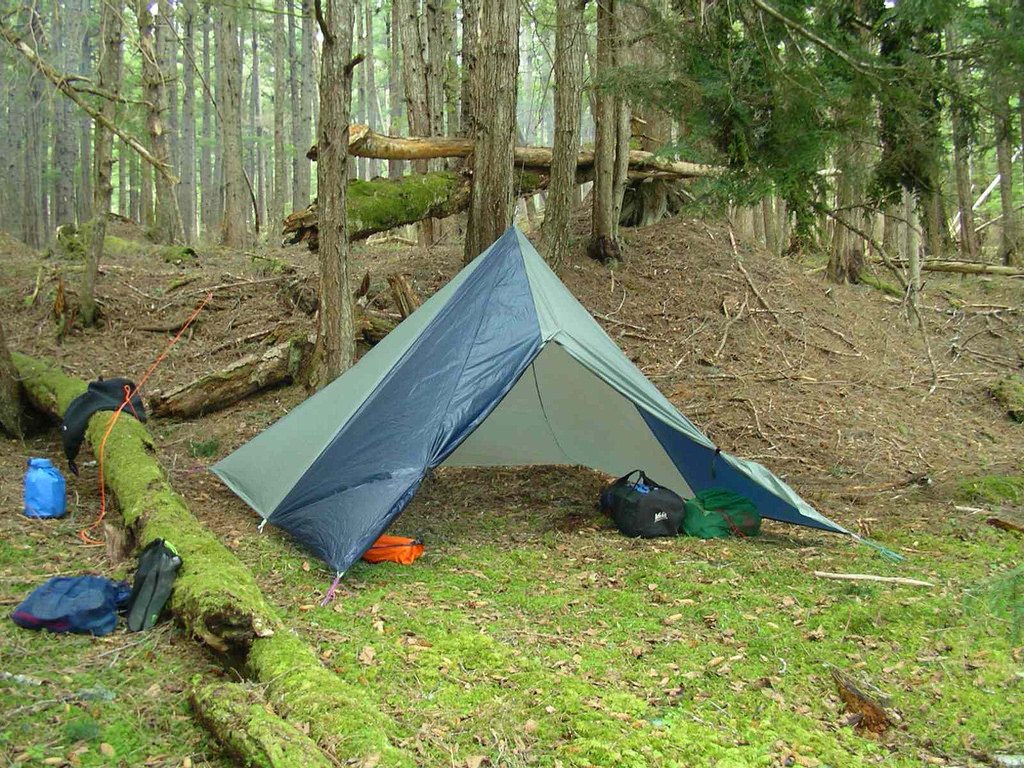
- A High-Quality Survival Tarp: With a tarp, you could wrap around all kinds of frames to quickly improvise covers. Since the average tarp takes a negligible amount of space and weighs little, you would have no trouble moving around with it in the outdoors. For relaxing, you could set up a hammock using your tarp within a few moments. Want to ford a river? Then you could build a raft using your tarp and some branches tied tightly together. As always, you must remember the rule of thumb: “You get what you pay for”.
- A Good Roll of Paracord: When it comes to surviving in extreme conditions, Paracord plays a central role in many tasks and in term of shelter, Paracord keeps everything stable. If you forget to bring Paracord with you, you are going to have a fairly tough time securing the materials. Although some Paracord models on the market offer more value than the rest, most would work for constructing survival shelters. That being said, it’s strongly recommended that you prioritized reputable brands as a precaution.
- A Warm, Compact Bivvy Sack: In case you don’t know, a standard bivvy sack is a thin, light cover that keeps the user warm. Regarding comfort, bivy sacks fall behind conventional sleeping bags but in exchange, the bulk of most sacks is quite manageable. So if you want to learn how to build a long term survival shelter then the first step is to get a nice bivvy sack.
Assembling The Shelters: Popular Designs
Articles that talk about how to build a long term survival shelter often cover various designs and generally speaking, you could use whatever you like. Nonetheless, if you favor the balance between investment and performance, you should consider these designs.
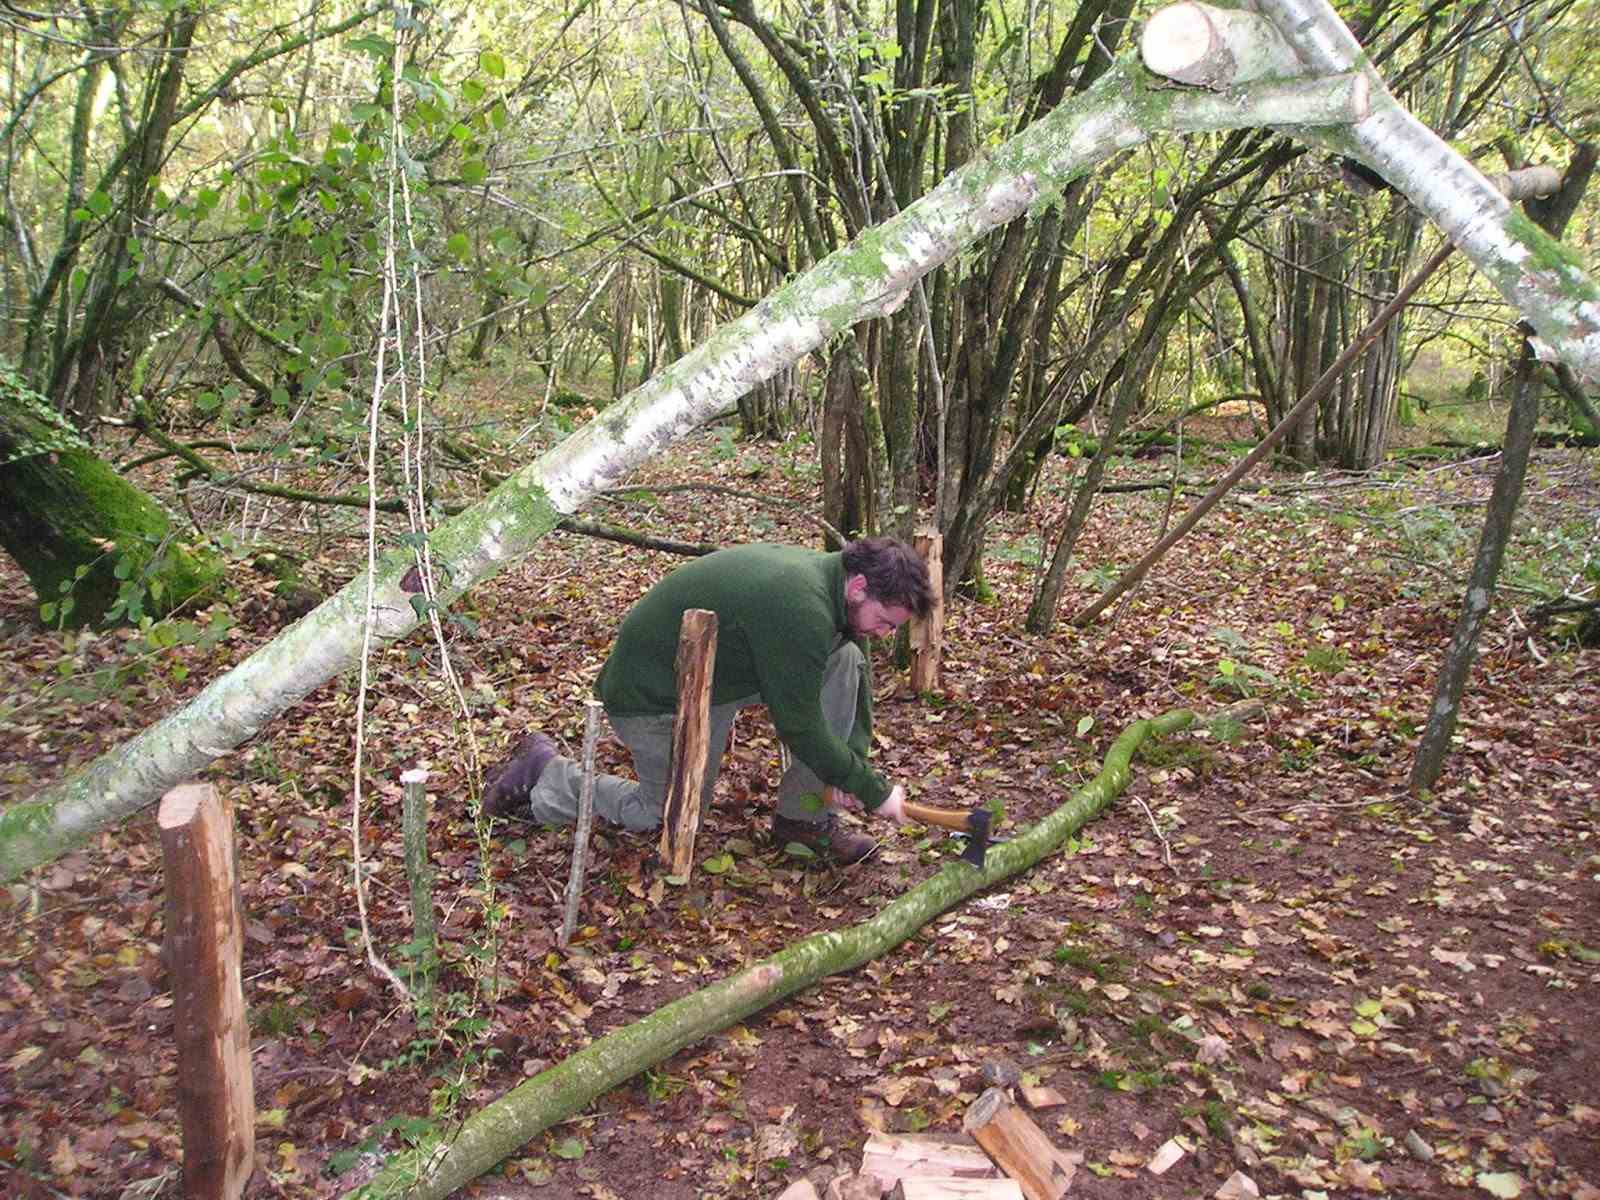
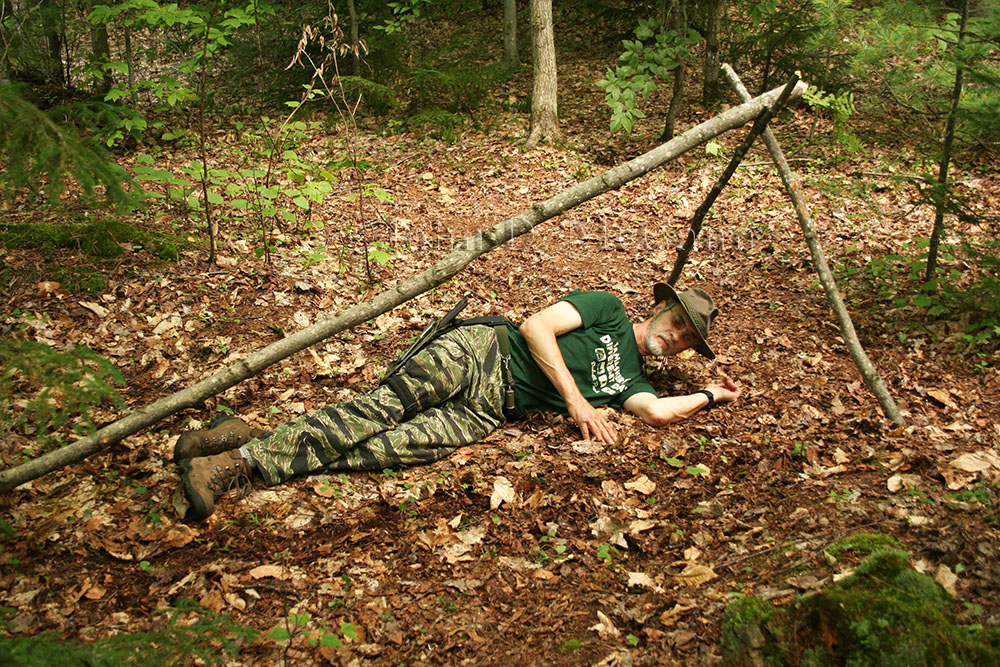
1. Lean-To Shelter With Tarp
If you only have to deal with ordinary elements in the outdoors, the A-Frame Shelter With Tarp is your best bet. First, you have to pick a site for your shelter, ideally a level area located on high grounds. Avoid spots with dead trees nearby as dry branches could fall right onto your head. Search around for a solid branch to serve as the horizontal pole in your shelter. Next, find 2 stable trees with enough space for you in between and tie the pole to them using some Paracord. After that, strap series of branches to the horizontal branch and finish with the tarp.
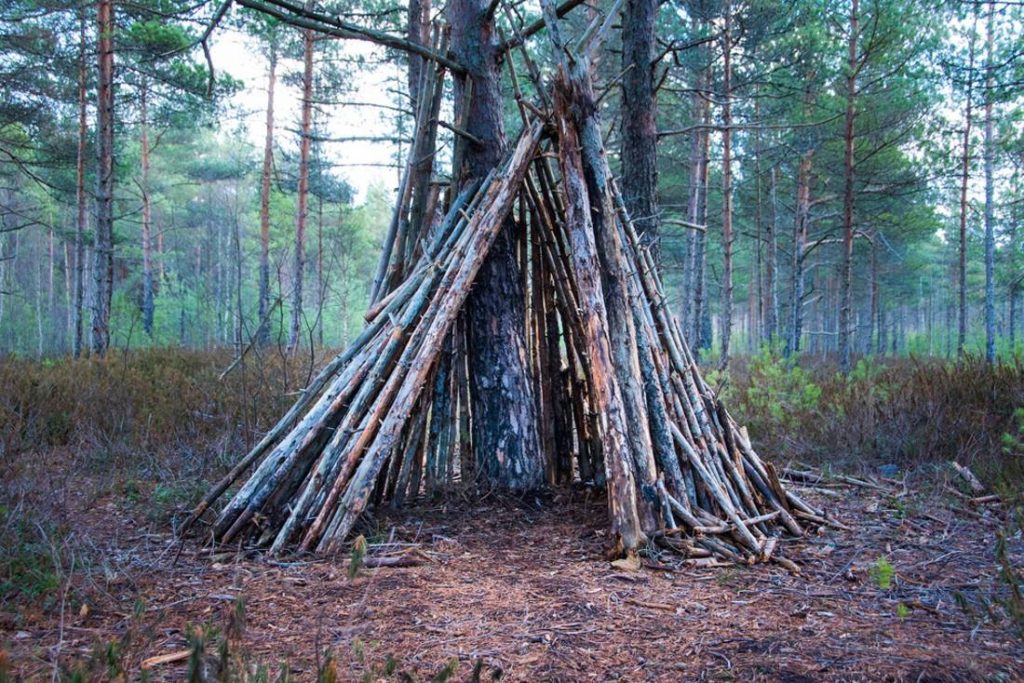
2. Vegetation-Covered Wicki-Up Shelter
Gather a few dozens of branches at similar lengths and proceed to lock them together to form a freestanding tripod. Needless to say, the branches must be long enough to accommodate you and your supplies. Keep adding more and more branches until you create a frame that resembles a tipi. Once the frame takes shape, start throwing leaves, grasses and other vegetation on the branches until you cover every gap. Assuming that you use mostly fresh materials here, it’s generally safe to start a tiny fire inside the shelter.
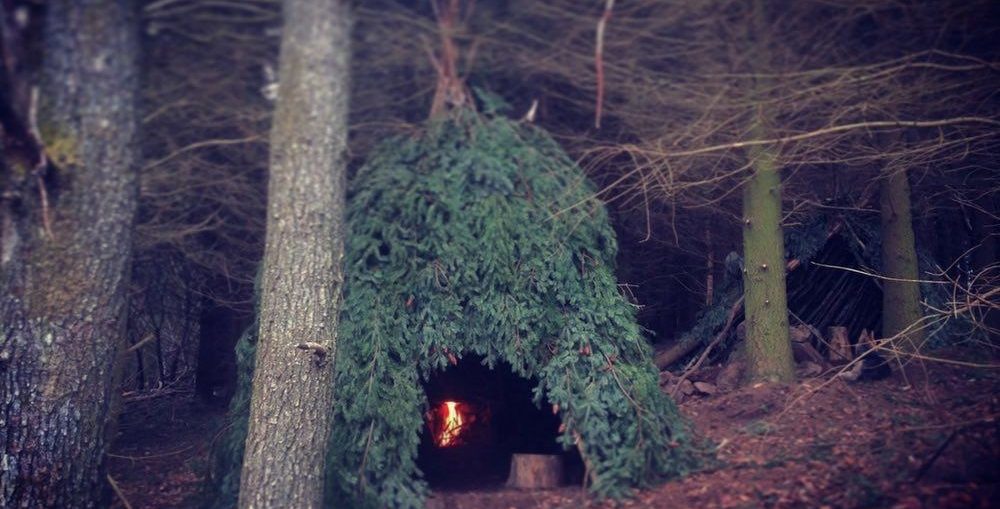
3. Short A-Frame Hut Shelter
Compare to other designs, the Low A-Frame Hut Shelter tend to possesses a limited height so you could not move around as you please. On the other hand, this particular shelter requires far lower investment to complete on average. Overall, grab a long branch, prop it up in the fork of a tree then casually lash in additional branches on the sides as ribs. Keep the ribs as close as possible so the hut would not end up falling apart with you in it. Fill the interior of the hut with vegetation as beddings, toss in the bivy sack and that should be it.
Tips And Tricks For Novices
- Maintain The Shelter Every Day
No matter how much confidence you have in your shelter, it’s widely advised that you perform maintenance on a daily basis as a precaution. That means you must replace cracked/worn-out materials as soon as possible so the whole structure remains strong and minimize the risk of collapse.
- Be Cautious About Fire Hazards
Considering the fact that your shelter consists mostly of vegetation, you have to be careful when it comes to fires. If you have to set up a campfire, make sure that you always wall it up just to be safe.
- Practice, Practice And More Practice
It’s highly unlikely that you could master the construction of survival shelter within a few days but don’t worry as practice make perfect. So keep practicing and you would be able to memorize the techniques without much difficulty.
Last Updated on March 21, 2019


