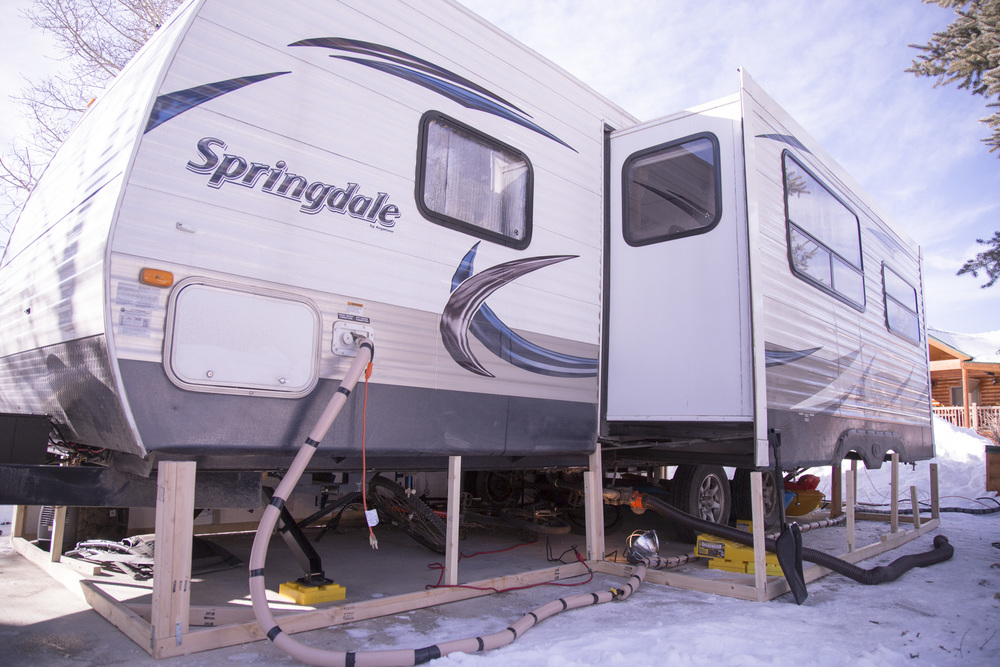
Compare to other methods of traveling/camping, recreational vehicles are much more comfortable thanks to their convenient facilities and utilities. Nonetheless, a standard RV is not exactly invulnerable to the effects of the weather, temperature, humidity, sunlight and similar element. Therefore, if you wish to keep the plumbing of your vehicle operational in wintertime, you must consider using heat tape. In the case don’t know anything about heat tape for RV water hose and pipe, this article could provide you with some useful information.
Down below, you will be introduced to the characteristics of heat tape as well as how to use it properly. While heat tape could be used to good effect by virtually everyone, there are a couple of things you need to keep an eye on. As a result, in order to provide you with a proper approach, heat tape issues and their potential consequences are also listed in this article. Read through everything and you should be to have a firm grasp on the heat tape construction and its usage.
Contents
An Overview of Heat Tape for RV Water Hose

Technically speaking, pretty much all types of heat tape are considered to be resistive heaters which carry a conducting wire. They work on a simple principle: When electricity passes through any conductor, the material resistivity (its resistance to electricity) shall cause it to emit heat. For most of the time, heat tape could generate temperatures between 300 and 900 degrees Fahrenheit. However, certain products could emit heat as high as 1,400 degrees Fahrenheit.
In the usual case, the average energy consumption for each foot of heat tape is around 6 – 12 watts. The best operating hour in mild weather condition is from 6:00 AM to 6:00 PM. You have to check out ice buildup and snow accumulation before deciding the tape operating hours. Leave the heat tape on for 24/7 if the weather and temperature require that.
>> Read more: Best RV Water Pressure Regulator Reviews <<
Types of RV Heat Tape
Non-regulating
Products in the category are simple to use and capable of matching most RV setup, you could purchase them by the foot or in rolls. You should not leave non-regulating heat tape on while there is no one around because that would pose a significant fire hazard. As the name suggests, non-regulating products are unable to change their heat output without human interaction. Therefore, they could get overheat and cause a fire if the weather gets warm and you don’t adjust the thermostat in time.
Self-regulating
In contrast with their non-regulating cousins, self-regulating tapes could automatically change their heat output base on the surrounding temperature. So if you want to be on the safe side and are willing to invest for convenience, you should definitely go after self-regulating products. Similar to non-regulating tapes, self-regulating tapes could be wired to plug in a standard electric outlet. Nonetheless, many RVer just hardwire the tapes directly into their vehicle circuit so they don’t have worry about them getting unplugged by accident.
Safety Cautions And Installation Advice
Heater tape is essentially an electrical wire that wraps around the hose so it’s obvious that there are some rules you need to follow:
- Read the manufacturer manual carefully and thoroughly
- Only used laboratory tested products from credible brands
- Don’t use it on hoses that touch the ground to prevent power surges.
- Don’t cross the heat tape back over itself since that could cause fires. Keep the heater tape away from flammable materials and heat sources
In the case your hose is made of plastic or rubber, it’s strongly recommended that you only use self-regulating products. Non-regulating heat tape could cause the plastic as well as insulation layers if you forget to adjust the thermostat. About the operation expense, self-regulating products are also much more economical in the long term because you don’t have to pay for unwanted heating.
>> Read more tips about RV fresh water system here <<
How To Install Heat Tape For RV Water Hose
Step 1: Exam And Inspect The Hose
Check out at the hose in order to determine its integrity, you must never install heater tape on leaky hoses. The last thing you ever want to experience is to see the leaking water short out the heat tape and degrade the surrounding insulation layer. In the case the hose seems intact, proceed to clean it with a stiff brush to remove dirt and cobwebs. Finally, measure the hose so you could figure out the length of the heat tape you have to use.
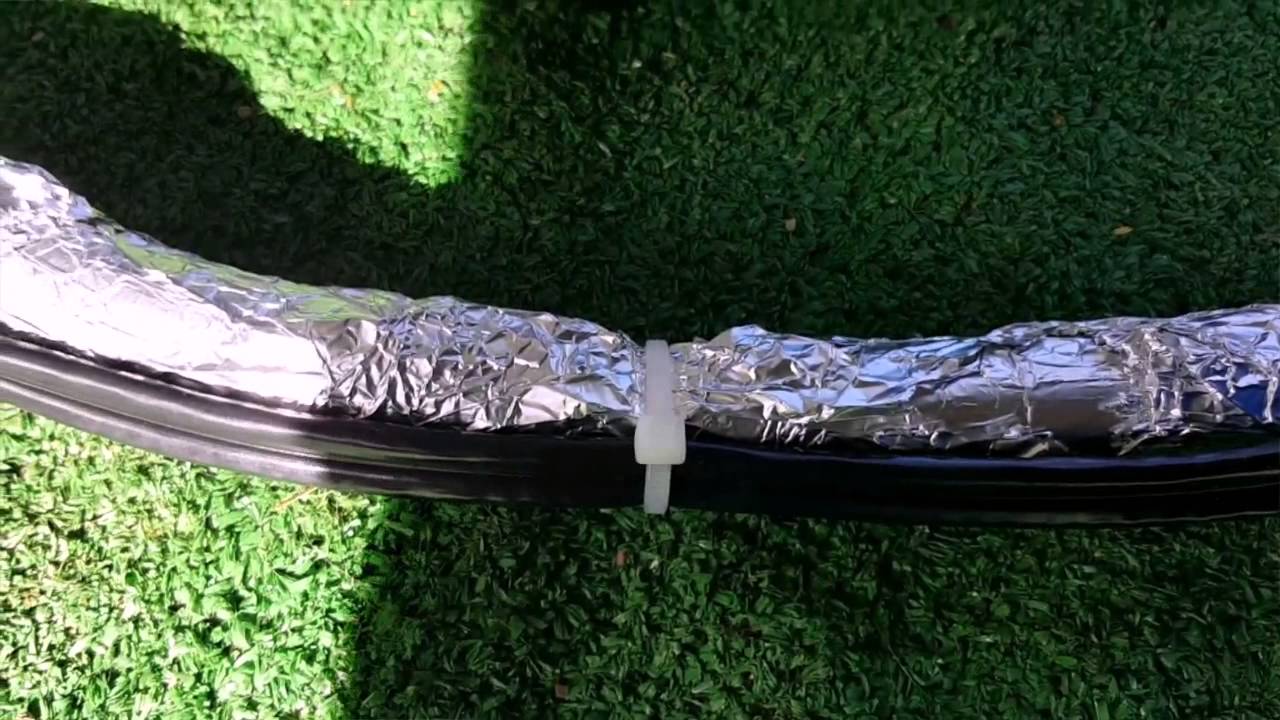
Step 2: Proceed To Wrap The Tape
Many types of heater tape are designed to be wrapped around the hose without requiring assistance. However, certain products do require you to support them with electrical tape. In most of the case, the manufacturer manual should tell you about the best way to install the heat tape. If you want to be sure, you could consider using additional layers of insulation. Long foam tubular and rubber are excellent materials for the task.
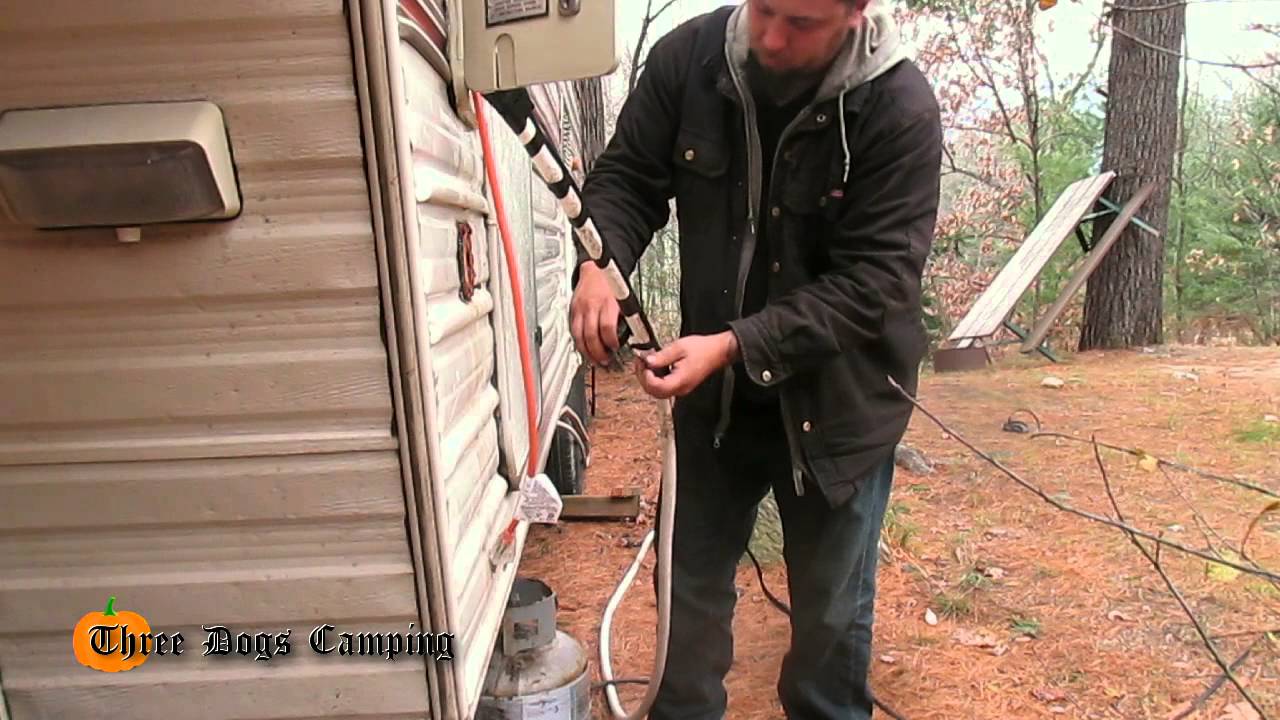
Step 3: Plug In The Heat Tape
If you lucky, the remaining length of the tape should be enough to reach an outlet after you finished wrapping. In the case the tape is too short, you could always use an extension cord or daisy chain an additional length of the tape. Once the tape is plugged, the thermostat should start monitoring the temperature. After that, you could begin to adjust other settings depend on what model and type of tape you are using.
Note: If you don’t want to go through all the trouble of installing a heat tape for water hose, a heated RV water hose is an excellent alternative. The hose working principle is similar to heat tape with a conducting wire embedded inside its body. All you have to do is to connect the heated hose to an outlet and electricity shall take care of the rest, pretty simple right? Generally speaking, compared to heating tape for RV water hose, heated hose installation requires less effort and you could use it right away. However, heated hose needs to be used with an insulated faucet.
https://www.youtube.com/watch?v=Gyv9pjJAhl4
Last Updated on June 2, 2018
