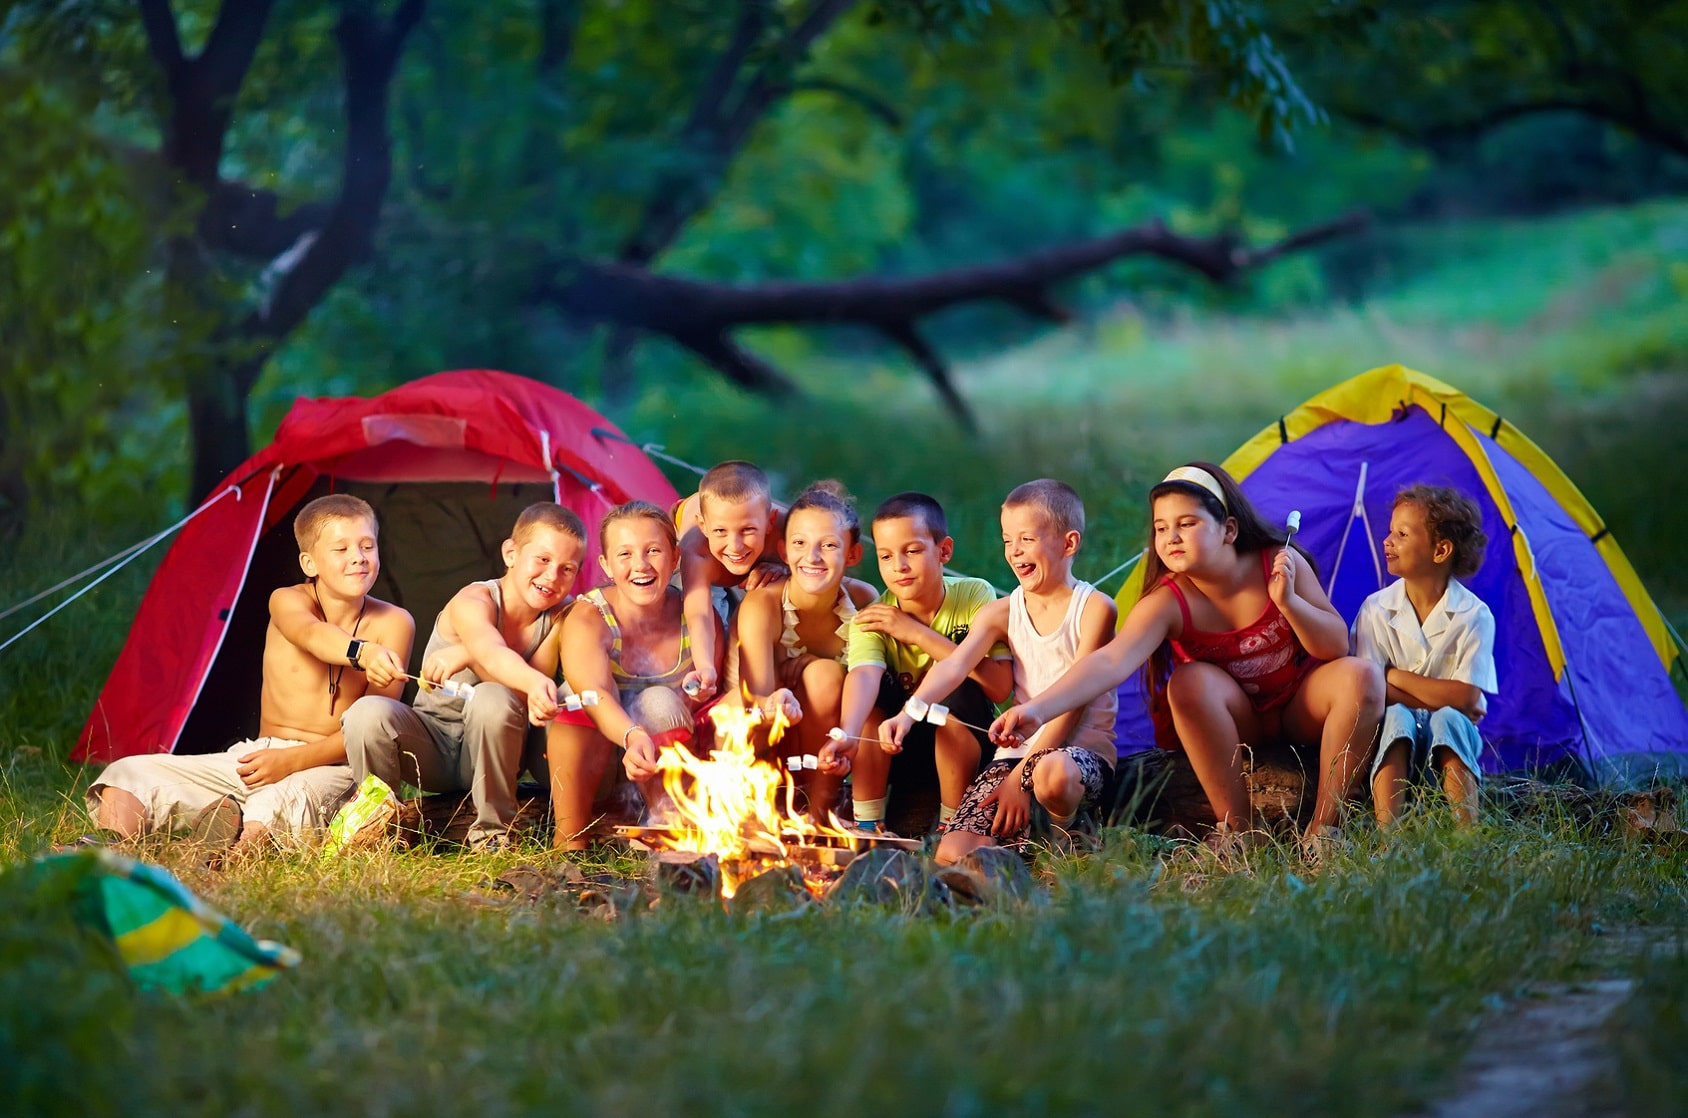
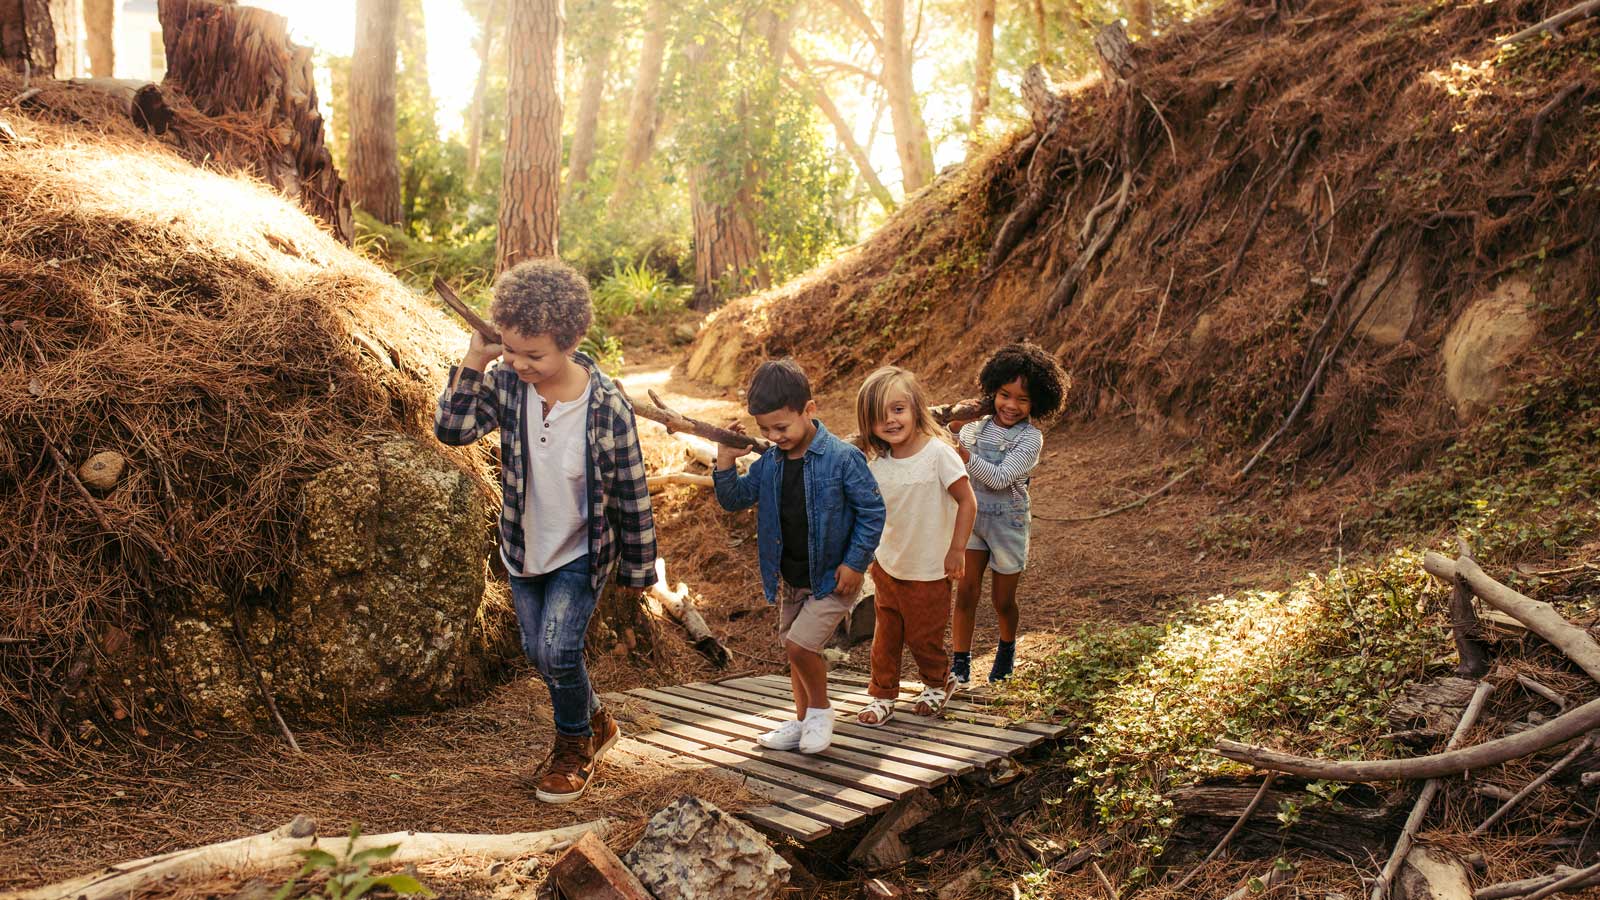
When most adults think about camping, they associate it with hiking, roasting marshmallows around a campfire, and just experiencing nature. But if you’re camping with kids, you know that short legs don’t always go well with long hikes and just “hanging out” often results in complaints of boredom. So why not indulge your little one’s inner artist and use nature’s craft supplies to pass the time outdoors?
Here are six fun nature art projects to keep your kids crafting even while camping.
Contents
1. Nature Paintbrushes
Supplies: sticks or twigs of any size; grass, leaves, flowers, pine needles or any other soft material; string, yarn, twine, or small rubber bands; paint and paper
Sure, everyone knows what it’s like to paint with a regular paintbrush, but what about a brush made from nature? For this craft, have children collect some sticks that they think might make good handles for paintbrushes. It’s okay to get adventurous- have you ever wanted to paint with a giant paintbrush? Then grab a big stick! Want to make a fairy-sized brush? A tiny twig will do the trick. Then, find items to use as your brush’s bristles. This can be anything- flowers, flower petals, leaves, different types of grass- it’s as much an experiment as a craft, so try whatever you like.
Once you have your materials, start assembling your brushes by attaching bunches of your bristle material to your handles using the string or rubber bands. Then dip your brush into your paint and try it out on some paper. Which works better: longer bristles or shorter? How do the different paintbrush materials affect the way your brushstrokes turn out? Have some fun creating unique works of art with your new set of brushes.
2. Leaf Critters
Supplies: leaves of all different shapes and sizes, paper, glue
If your kids love plants and animals, they’ll love this craft- because it’s both! Have children gather leaves of all different shapes, sizes, and colors, and then use them to create parts of different animals. How about a birch leaf for a bear’s belly, and some willow leaves for arms and legs? Let the shape and color of the leaves you find determine what your animal will look like. It’s okay to be creative- why not create your own creature from your imagination?
Once you’ve arranged the leaves on the paper just how you want them, use the glue to secure them and your animal creation will be complete. For even more crafty fun, use paint, markers, crayons, or colored pencils to color in a habitat for your animal. You can even use more leaves to make it more lifelike!
3. Fairy Houses
Supplies: Anything in nature!
We all know fairies exist- but where do they live? With this craft, you might be able to entice them in with a fairy-sized house made of natural materials.
Children can make the walls of their house with sticks stuck in the ground, or by leaning a piece of bark against a tree, or even by stacking small stones. Leaves and bark make excellent roofing materials. Should the house have a chimney? What about a little fairy playground? If your family is feeling very creative, you might even create an entire fairy village.
This isn’t a craft you’ll be able to carry home with you, but the local fairies will almost certainly be grateful to see the delightful dwellings you and your kids have created for them.
4. Leaf Prints
Supplies: plain paper, hammer, paper towel, fresh (not dry) leaves
This craft is so simple, even the littlest ones can help! Start by placing your paper on a sturdy surface, like a picnic table, a large flat stone, or a sidewalk.
Gather some fresh leaves with fun shapes, then place them on the paper where you want your print. Cover the leaf with a paper towel, then carefully strike the leaf with the hammer several times through the paper towel, making sure you get all the edges (and watching out for little fingers). Pull the towel and the remainder of the leaf away, and you’ll see a print of a leaf on the page.
Kids can create their own stationery by placing a single leaf print at the top of a page, or they can create a fun border of leaf prints around the edge.
5. Nature Mobiles
Supplies: one or two sticks 6-12 inches long; twine, yarn, or string; any interesting objects found in nature, like feathers, shells, acorns, pinecones, etc.
For this craft, your child will start with one medium-sized stick, approximately 6-12 inches long. Next, cut a piece of string about twice as long as the stick. Tie either end of the string to either end of the stick, so that when you hold the string in the middle, the stick hangs from it parallel to the ground. Once the mobile is finished, you’ll use this string to hang it from something like a tree branch or a tent pole.
To finish the mobile, help your child tie a string to each object they’ve collected: shells, pinecones, feathers, leaves, etc. Next, you’ll tie the other end of each of these strings to the stick. Varying the length of the strings will allow the objects to move more freely, keeping them from bumping into each other and giving your mobile a more balanced appearance.
Now you and your child can hang the mobile, or you can hang a second stick parallel to the first and add a second layer of objects, giving the nature mobile even more movement.
6. Twig Ornaments
Supplies: twigs or sticks; glue; string, twine, or yarn
Many people collect Christmas ornaments as souvenirs from their travels during the year so that when Christmas arrives, they can think back on the fun they had during the year. But why buy an ornament when you can make one?
Twig ornaments are a perfect way to remember your camping vacation, and kids will love having their own special addition to the family Christmas tree. To begin, gather some small sticks and twigs. Then, lay out your shape. Stars are the easiest shape to achieve, either by selecting five sticks the same length and creating a five-pointed pentagram shape, or by selecting twigs of different lengths and putting them in a criss-cross pattern.
Once your child has decided on their shape, help them secure the sticks or twigs by wrapping them with string, or by putting a dab of glue on each place where the sticks touch. Add an extra piece of string to the top of the ornament for hanging, and you’ll have a wonderful keepsake to remind you of the special time your family spent camping together.
Extra tips:
– Check campground rules and regulations before taking any items from the campground, especially live flowers and plants.
– When scavenging for nature craft items, use extra caution and beware of dangerous plants and insects, like poison ivy and spiders. Supervise young children and teach them what to watch out for so that everyone stays safe and has fun!
Last Updated on February 11, 2020


